Hola Amigos!
We know it’s been a while since we last gave you an update, but those long dark days of mystery are now over.
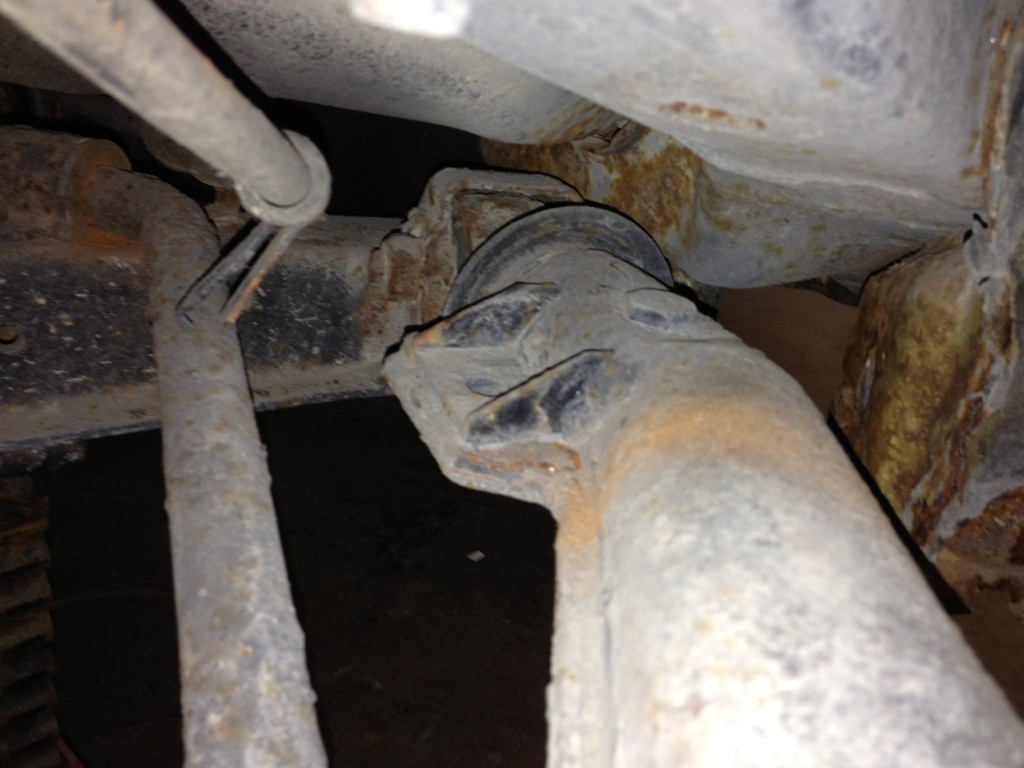
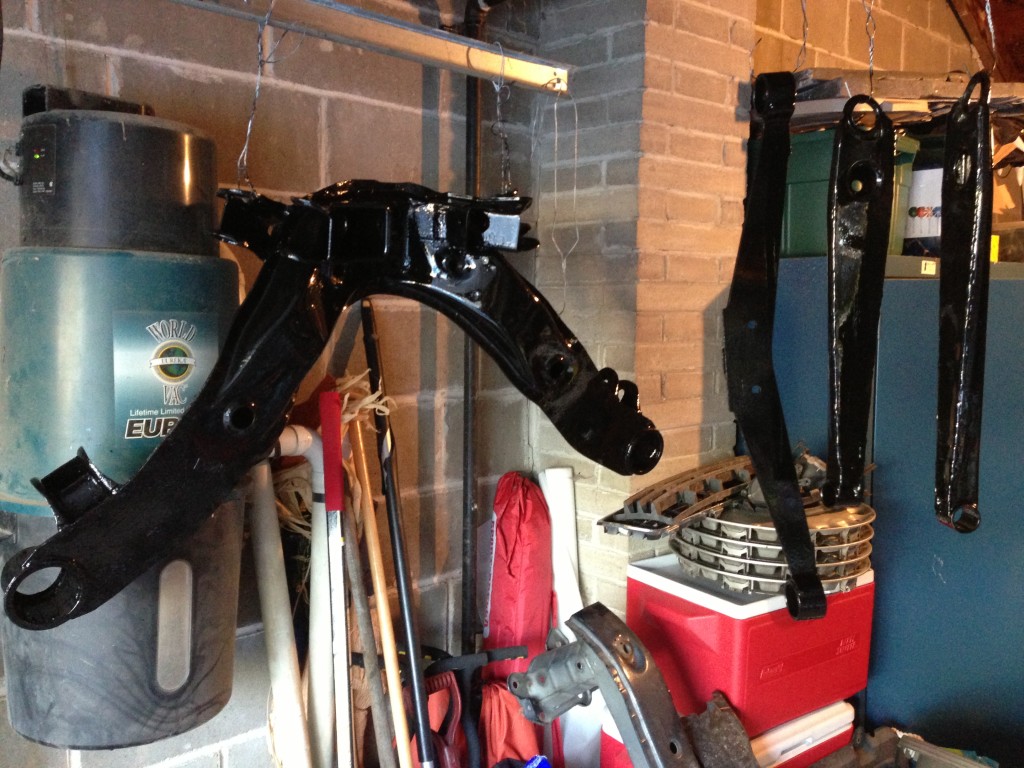
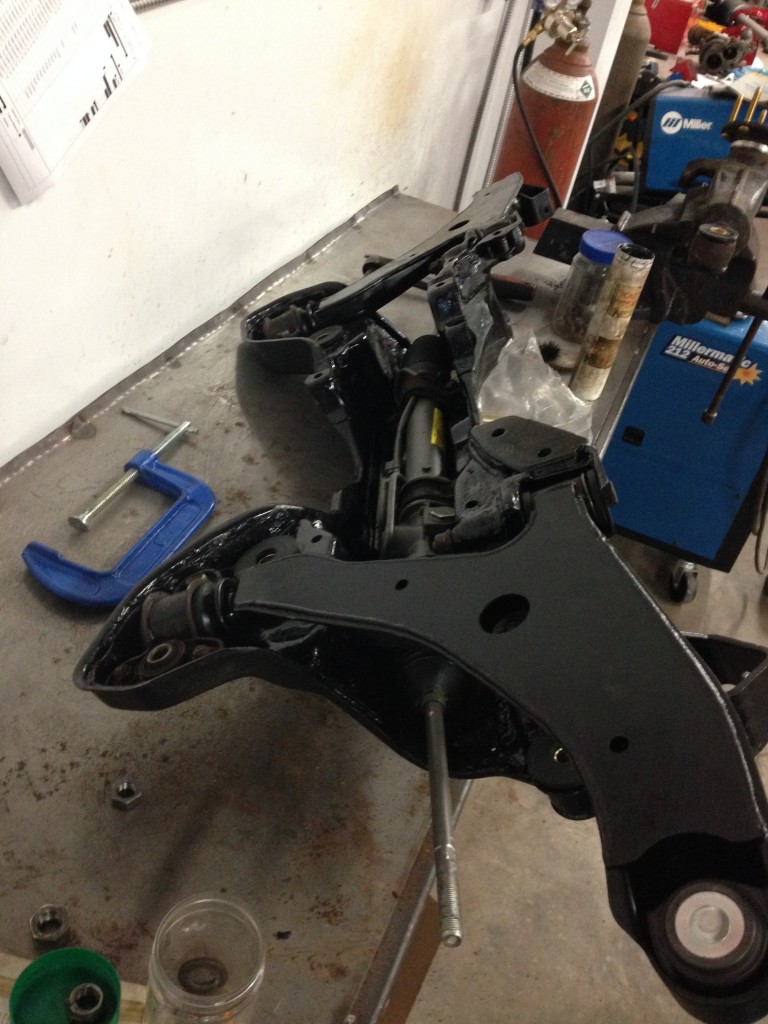
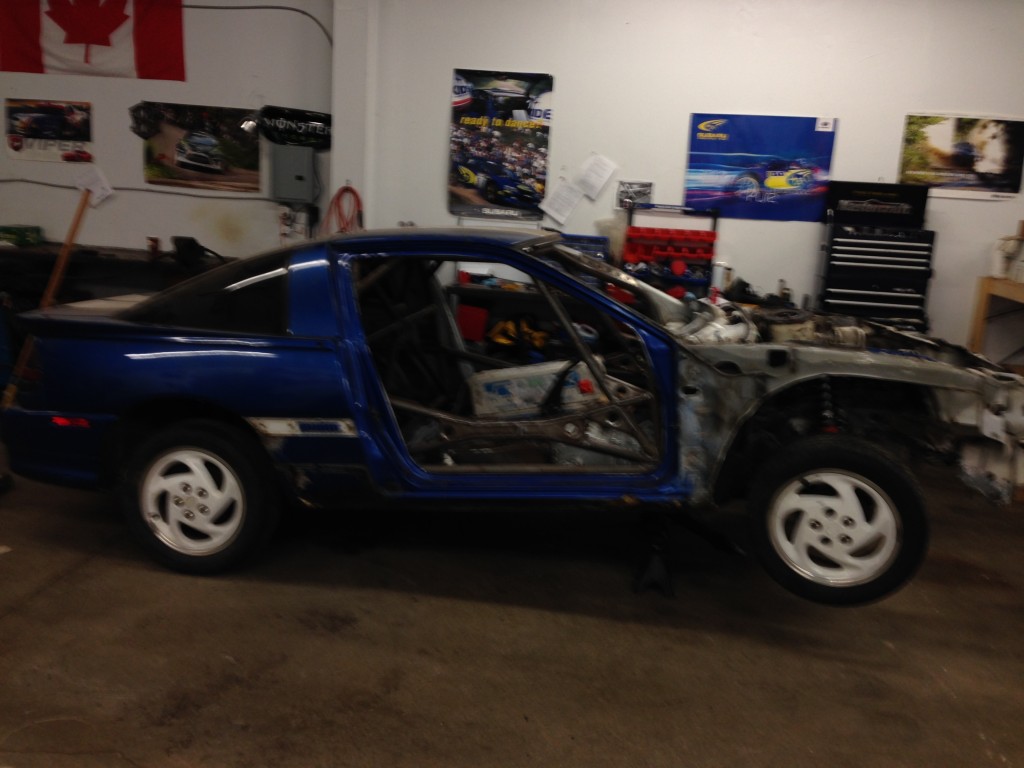
When last we left you we were working on the suspension and had the logbook. Well, we got that suspension business done – all the front and rear suspension bits were removed, rust was wire wheeled off, sleeves were sawzalled and then pounded out, everything was cleaned and metal etched and painted with POR15, bushings – all of them – were removed and replaced with new ones (thanks RTM!) and everything was put back together and the coil-overs were installed. Ryan even drilled the shock tower holes so everything fits! Would be better if we could find all the nuts we need, but there were lots just hanging around on the front clip so we used those for now. And we were short a few (ok 5, which makes up one wheel normally) wheel studs and the open ended wheel nuts we need to fit on the new hardened wheel studs? So we made do for now – the rest of that stuff is all safe, in a box, it’s just not a box we had with us that day. Did we mention someone on the team has a degree in planning?
Anyhow, since pictures are worth 1000 words, we will tell you the story this way and save a LOT of typing.
We went from this:
To this:
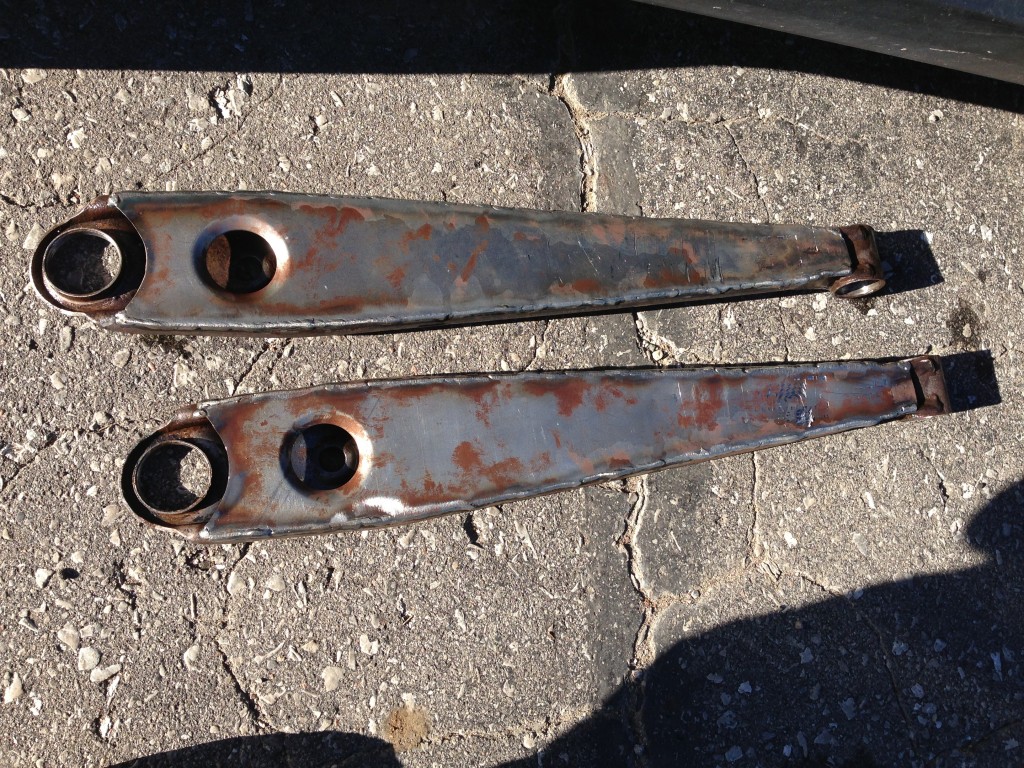
To this:
To this:
To this:
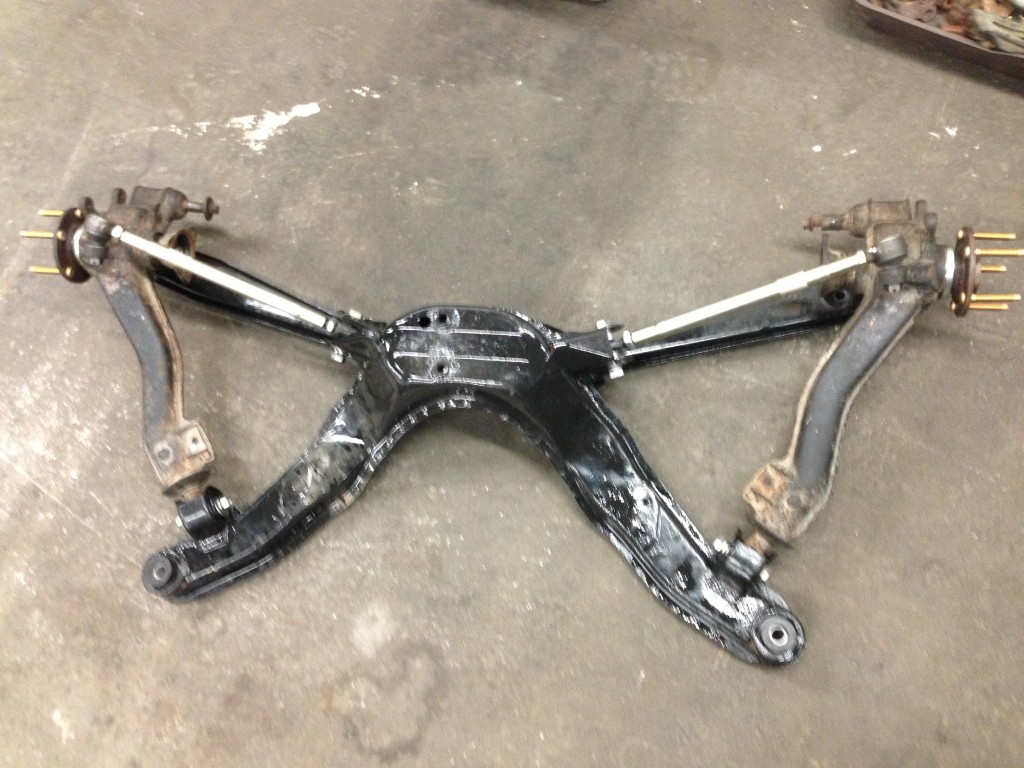
To this:
Yes, those are both front and rear suspension bits, so it’s not exactly a linear progression, but you get the idea. And good eyes, son!
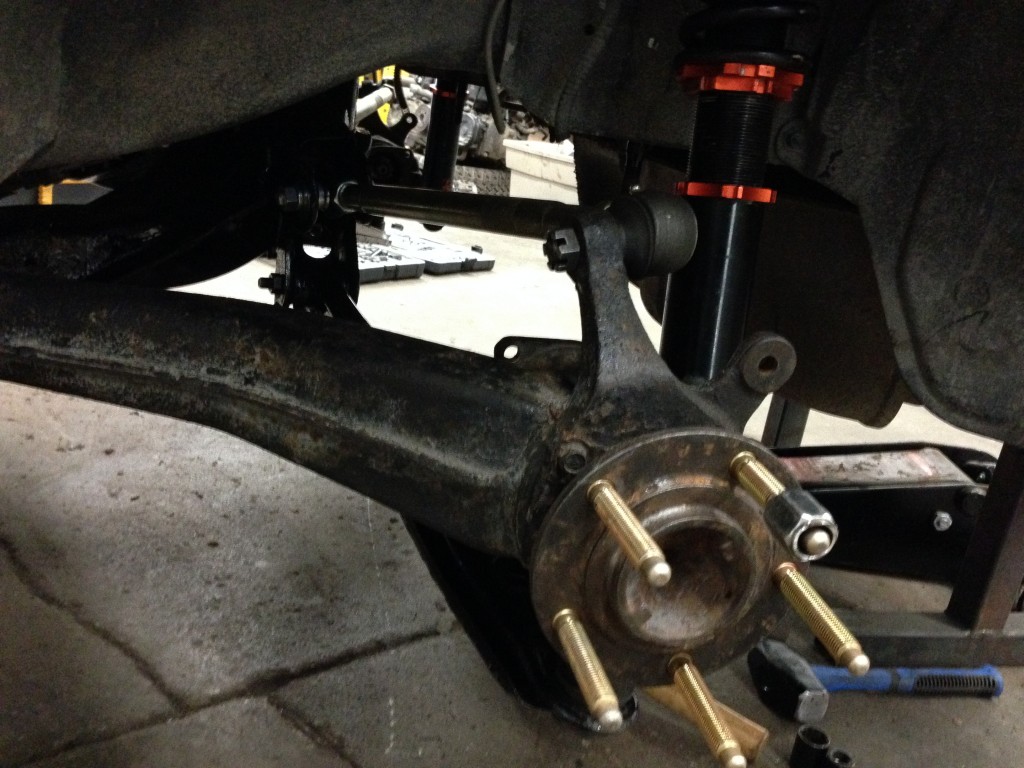
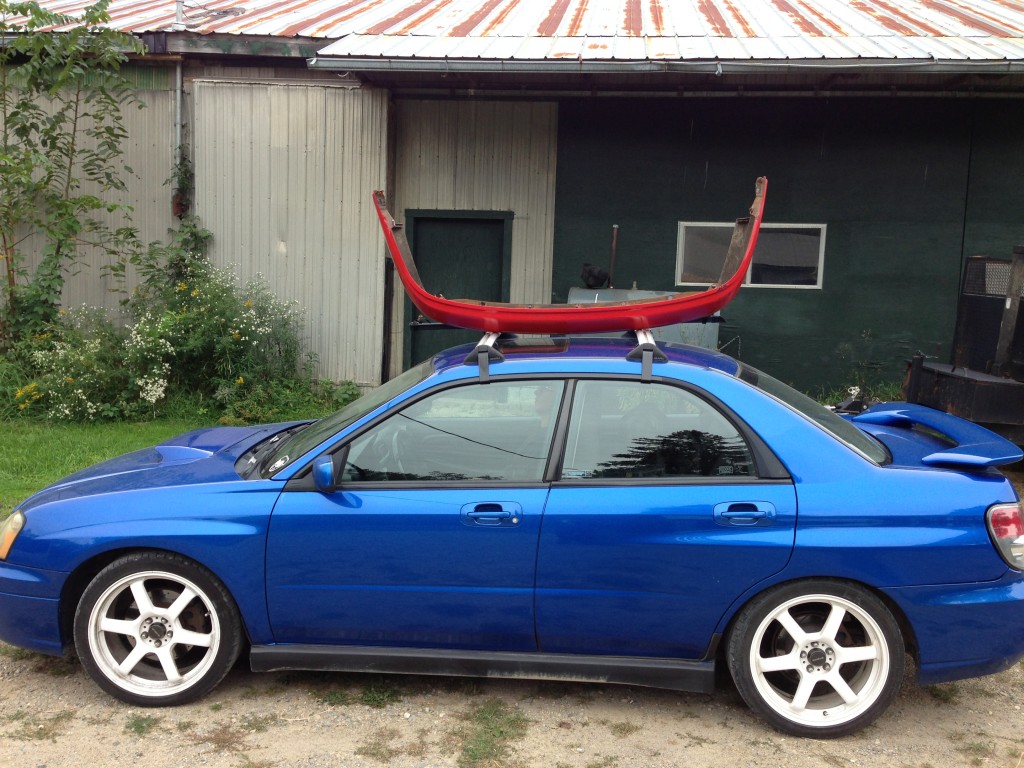
You may have also noticed that we added a new steering rack in there, as ours was of dubious quality and we feel steering is important. We got that from Don Morton, who some of you will know and love from rallies previous. He also threw in a 1G front bumper cover! Good deal. This was it in transport. Looks good on the blue Subaru.
Today we got the rest of the suspension back in the car – minus a few bolts that are still in the trunk of the Subaru pictured above – and the damn thing is actually sitting on its wheels! For the first time in a while, sadly, but also happily. That looks like this!
(Sorry for the poor quality – snapped on the way out. We didn’t put the front on the ground as there are no axle shafts in there and we didn’t want to mess up the new bearings).
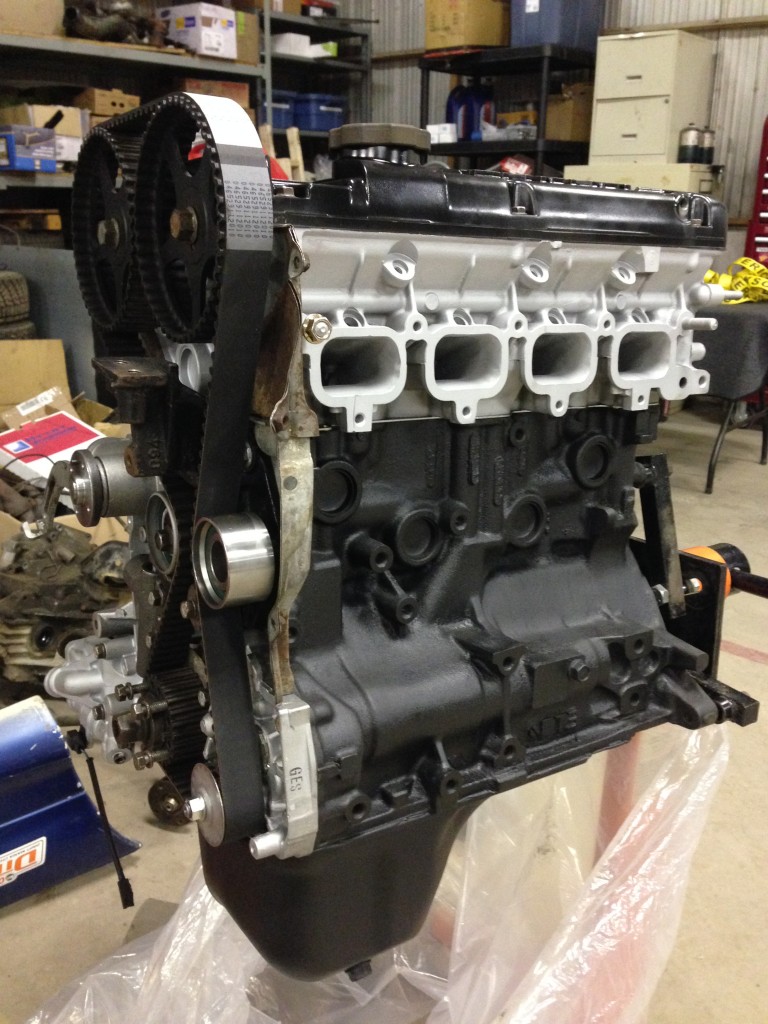
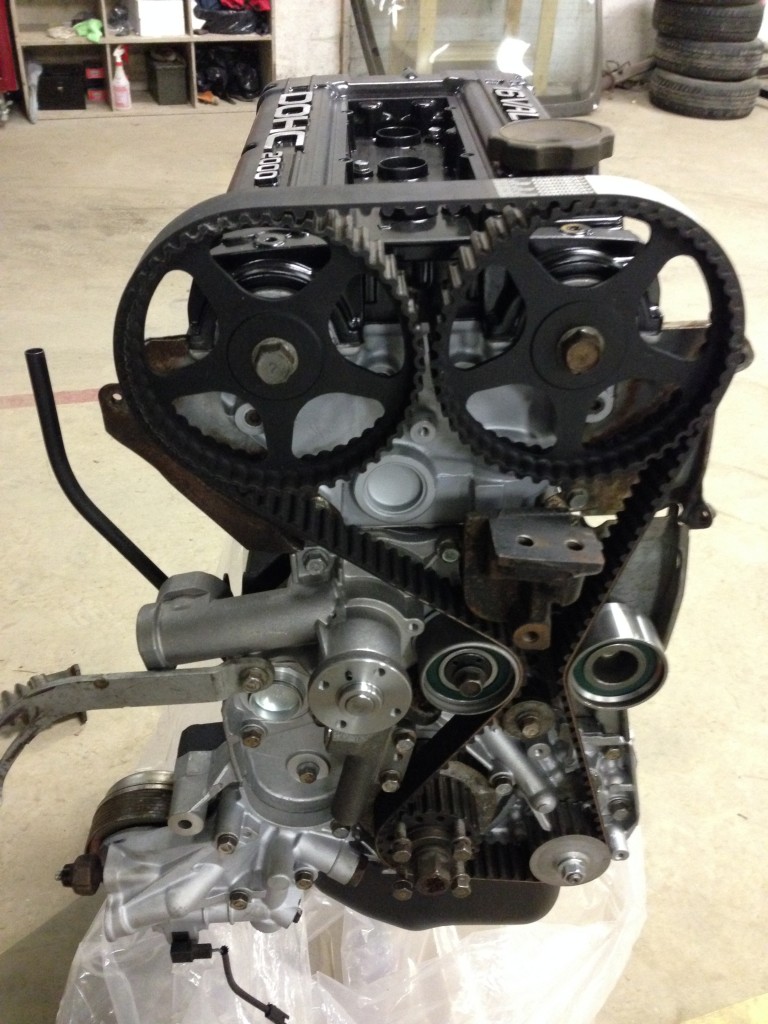
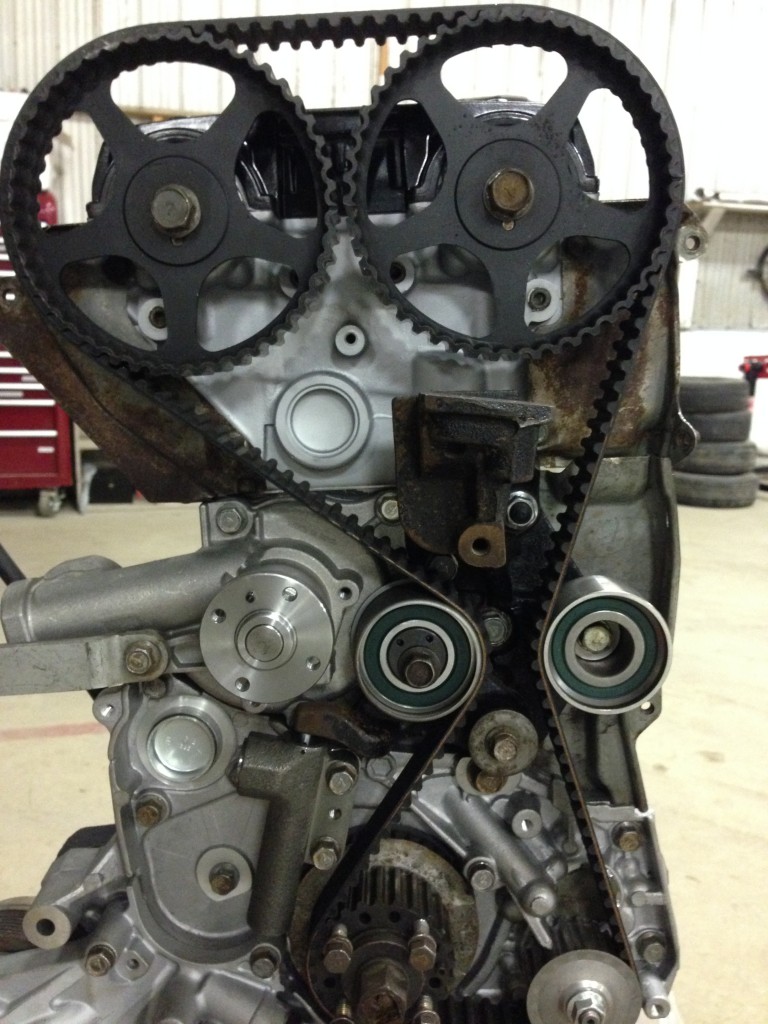
If you didn’t read it on the Facebook, we also got our motor back! Replacement parts included rings, pistons, timing kit, rod bearings, main bearings, lifters, all gaskets, water pump, oil pump, balance shaft delete, and ARP head studs and a Cometic head gasket. Pretty exciting.
So it seems like it took a lot longer to do this work than it looks like but we have been working, honest, boss!
Next steps are:
– Figure out how/when/where to get the bodywork done (the sills and rear quarters need some patching for a start plus some other misc stuff like putting a roof vent in)
– Clean up the engine bay and interior some more before we paint it
– Paint it (engine bay, interior, hood, and whatever bodywork gets done)
– Put motor in
– Build brake and fuel lines (and drop gas tank to check for rust)
– Finish stripping useless electrical out and then wire it up
– Put rest of interior (what there is of it) back in/together, install windshield, etc
– Construct exhaust, skid plates, rock flags (those plastic bits that go under the important bits of the car not already protected by skid plates) and misc other stuff under the car
– Start car and get it running, tune it, etc
– Profit!
Wait, that last one might not work out so well. But you get the idea – there’s a lot more to do still, and some of that is more than we planned for. On the plus side, we’re actually putting things ON the car now (as opposed to the opposite) and we have the motor built and the shell on wheels so things are slowly starting to come along. We’ll hopefully have more pictures and stories for you next time, and hopefully next time won’t be so far away from this time.
More soon!