This weeks’ work involved a whole bunch of doing things that those car build shows probably spend 15 seconds of screen time on but which took 12 man-hours for us to make progress on. The moral here: don’t believe everything you see on TV, kids!
Specifically, we spent our time drilling out spot welds so we can pop now extraneous metal bits off, removing the front sub-frame, and cleaning up the remainder of the stuff in the engine bay.
The pop rivets aren’t hard with a proper tool but can be tricky when the metal around the welds is 22 years old. You don’t want to just gouge holes everywhere… We had to pop out the rear seat brackets, the rear floor brace/seat holder, extraneous interior-holding bits of metal, and anything else in the way. This exposed some bits of tin-worm that we will also have to address, but the good news is that 1) we found it now and 2) it does not have to be pretty, just strong, so we think we’re OK there. We have Ryan on it, and he’s all about the safety.
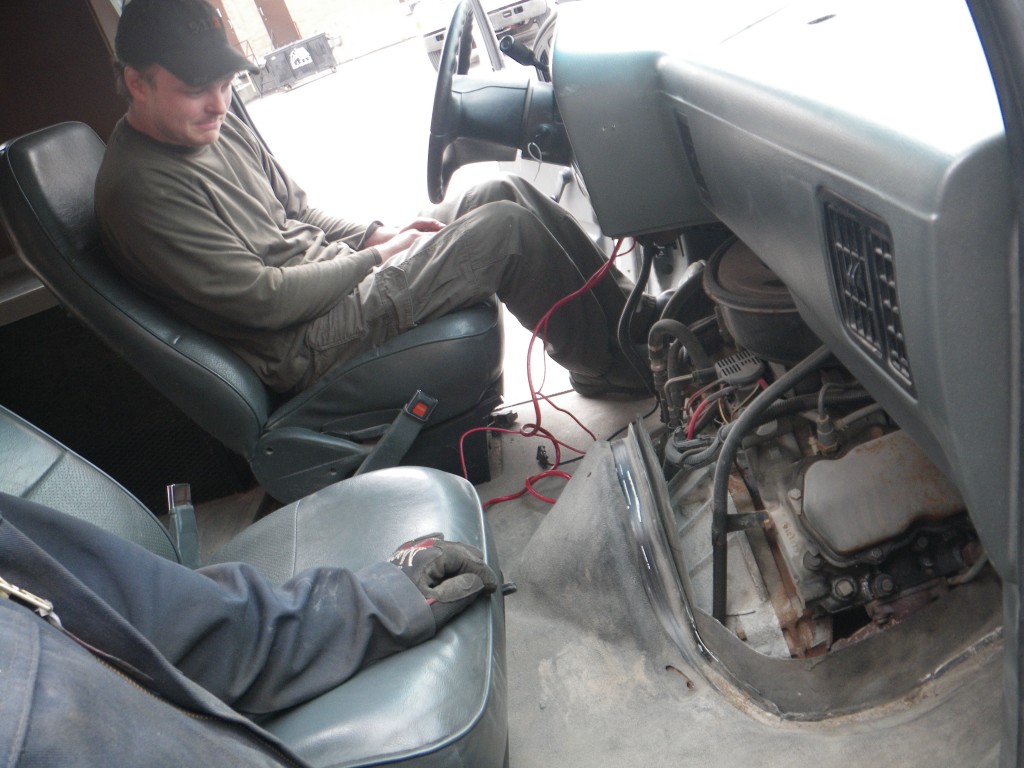
Yes, that engine is running.
Getting the front sub-frame out was a bit of a ‘nice to have’ item but we did want to clean it (and replace bushings, remove the front sway bar, and replace the rear motor mount, all of which is easier when it’s out) and then paint and re-assemble it. It’ll stay nice about 3 seconds into our first run but at least we’ll have done what we can while we had it apart.
We were cleaning up the firewall so we can then grind off/remove the seam filler, de-grease / clean it all (night-time visit to the ‘do it yourself’ wash bay anyone?), seam weld the front end, paint it, and then put it all back together. The key to that last step is proper labeling, so we’ve got that covered.
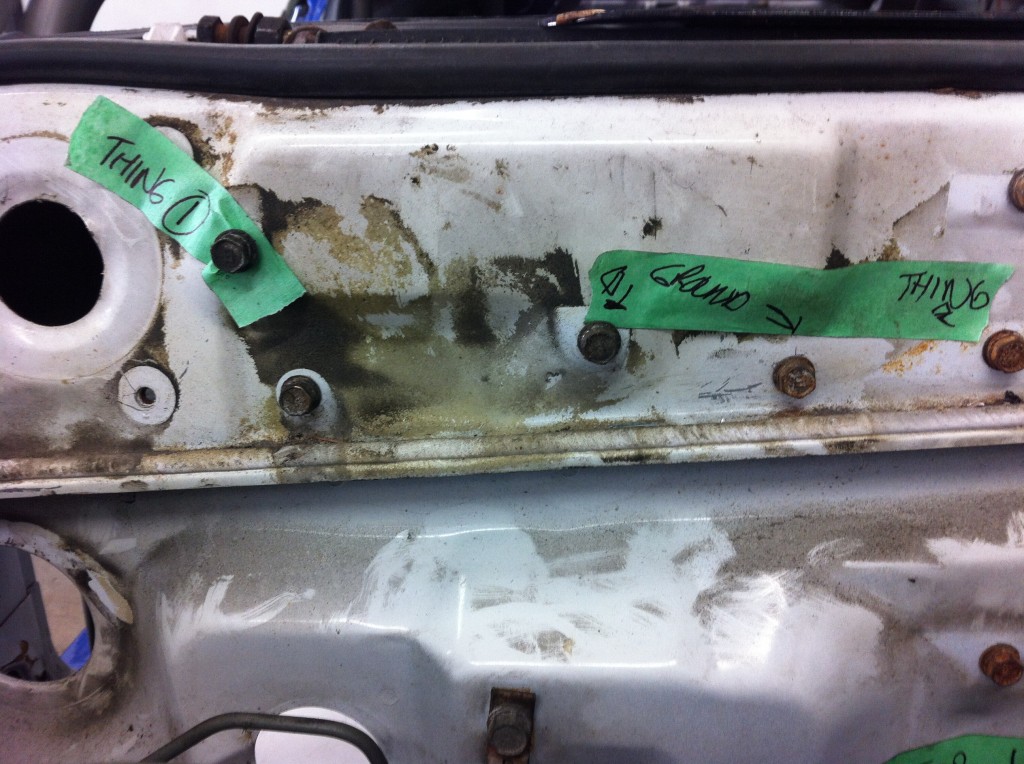
Just below the bolts you can see a line of seam filler running horizontally – the stuff that looks like putty or caulking. We want to get all that out so we can weld it up all nice-like. Given the car has a 60+ percent front weight bias and is rumored to fly more like a lawn dart than an actual Eagle we expect that the front end will want some help. Notice how nice the firewall below where the sound deadening material is though – the rust could be a lot worse.
One area we – and in this case “we” means Ryan – are making some noticeable progress is on the cage; things are getting cut and sized and tacked together.
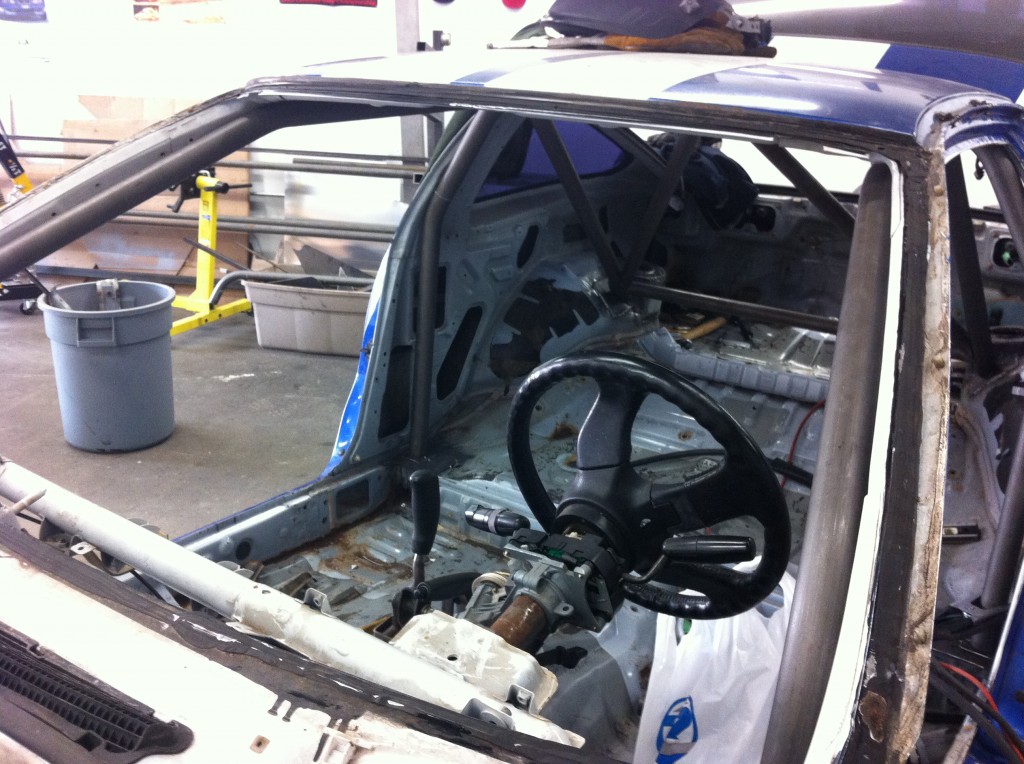

You can see how tight the cage is to the body; we need all that room because the cabin is substantially smaller than, say, a WRX. Rally Sputnik are not small men (insert wise-ass comment here) so we’re going to slam the seat bases as close to the floor as we can, narrow the transmission tunnel, push the cage out to the edges of the cabin wherever possible, and generally work to keep our noggins away from the hard bits. This necessitates a fair bit of design thought, and when combined with doing some extra reinforcing at the same time means we have to think ahead in all four dimensions. (Yes, time is a dimension. You can Wikipedia that if you’d like). Which is what we say we were doing while looking at Ryan’s new tow vehicle.
Next week we’re going to tackle getting the last bolt off of the sub-frame (the stupid captive nut has come away inside the body), getting the throttle cable off the pedal so we can pull those out of the engine bay (it’s nigh impossible to get at even with the dash gone), getting the clutch clip off the pedal (see throttle cable), and picking up the wiring and spare parts off the floor and taking to another different floor where the Rally Sputnik wiring guy will tackle improving the factory design via the Lotus approach.
(One advantage to doing this instead of a restoration or etc is that we don’t actually have to put it back together exactly how we got it. For example, the electrical from the factory runs from the fuse box on the co-driver side forward, turns and goes along the upper rad support to the drivers side, then turns back and goes through the drivers side wheel well (so it’s exposed to whatever the wheel throws up there) on its way back into the engine bay before going through the firewall and to a fuse box. Oh, and some runs through the dash BACK to the co-drivers side. Really? Did someone own stock in a wiring company? Get a bulk discount? Why wouldn’t you just go straight back to the co-driver side? Questions lost to the mystery of time… So yeah, we think we can shorten that a bit.
It also means we can run the brake lines more efficiently (and inside the cabin) when we replace them with braided steel lines (and EBC dimpled and slotted rotors with Red stuff pads and 2G dual pot calipers on the front), we can remove the brake booster (although we have to keep the same master cylinder to be in Prod 4). Plus things like AC, cruise control, pop-up headlights etc just add extra weight and complexity that we can do without, so when we get that done we’ll describe exactly how we’re going to put it all back together. With pictures!
Which you can expect to hear more about next week. Stay tuned!