How did you spend your holidays? Did you spend time in a large, essentially unheated and uninsulated building with concrete floors, using tools and handling parts that sucked the heat of your hands through gloves? Well, we did! Welcome to the glamorous world of grassroots racing.
Once we had the caged and logbooked shell up at our much beloved (despite the description above it really is pretty awesome) shop space we decided it would be a good idea to assess what we had. Specifically, sort out any remaining Lada parts (none), Astro parts (I think we have an oil filter but anything we find we’ll bring to Alexi), 2G Talon parts (there were some we can use and some we can’t), 1G Talon parts we won’t use (anyone need a 91 Talon AC bracket?), 1G Talon parts we can’t use (looking at you, hanger bearing), and of course the treasure trove, which is 1G Talon parts we CAN use.
The good news is we have a fair number of those and in some cases more than one. (The hanger bearing still in a bag was a nice find, for example). The bad news is that even these needed cleaning and testing and in some cases additional parts – usually rubber – attached to them. Here’s what we’ve done so far.
- Checked, cleaned and lubed the transmission, rear end, and transfer case. The rear diff filler bolt was well sketchy but came off without stripping, which was nice.
- Removed the prop shaft, after multiple soakings of the mounting bolts with Power Blaster.
- Removed the ball joints from the rear sway bar with a sawzall, heat, and a hammer and replaced them
- Test-fitted the subframes (which all have new urethane bushings already installed) and steering in place
- Cleaned and cleaned surface rust from and painted the motor mounts and installed the new urethane bushings in them
- Cleaned the brake and clutch master cylinders (all good but we need a new cap for the clutch cylinder and will probably get a rebuild kit) and the blow off valve (metal plus we have a spare)
- Swapped the fans from the stock rad (still in good shape) to the new aluminum rad and cleaned/painted the metal fan frame. We’ll wire one to a switch and leave the other on the thermostat.
- Cleaned the thermostat housing (and found we need a new lower housing, plus we thought we’d put a thermostat to put in it as it didn’t come with one)
- Cleaned the fuel rail and intake blow off valve (which is metal) and shifter base (and painted that bad boy)
- Emptied the gas tank and inspected it (looks good! Possibly replaced in fact)
- Gutted the AC housing, test fitted the heater pieces, and modified the fan so that it fits around the cage bars. We should even have options beyond defrost! (This was actually a bit of work that, if we had a few beers and were trying to look like big shots at the bar we would causally describe as “fabbing up a heater box”).
- Tested the alternator (and it’s good!)
- Brought up more parts and stored them along with all the newly organized parts We now can’t find much of anything, but most of it is there. Or at the Schomberg office.
- We also locked the hatch and have to crawl back there and open it…and disconnect the lock
As you would expect, we are replacing all gaskets and hoses so we created an initial list of things we need. It is a long list and not yet complete; we’ll be looking to the DSM forums, Ziggy (RTM Racing), and other DSM rally and race car owners to accumulate all of this.
| Silicone Coolant Hose Kits (Blue): 1g DSM |
| OEM Thermostat: 1g DSM |
| OEM Thermostat Housing Gasket: 1g DSM |
| Rad Hose Adapter Kit for Temp Gauge |
| OEM Turbo Water Pipe (91-94 Style): DSM |
| OEM Water Pump O-Ring: DSM/EVO1-3 |
| We need to figure out which heavier duty clutch and lightened flywheel we’ll be using but then we’ll buy that. | |||||||||||||||
| OEM Tranny-to-Block Bolt Kit: 1g DSM | |||||||||||||||
| OEM Flywheel Inspection Cover: DSM | |||||||||||||||
| OEM Flywheel Inspection Cover Bolt Kit: DSM | |||||||||||||||
| OEM Starter Plate: 1g DSM | |||||||||||||||
| OEM Starter Plate Bolt Kit: DSM | |||||||||||||||
| OEM Transfer Case Vent: DSM | |||||||||||||||
| RTM Underhood Shifter Bushing Kit: DSM/EVO1-3 | |||||||||||||||
| OEM Transmission Vents: DSM | |||||||||||||||
Techna-Fit Stainless Braided Clutch Line (Master to Slave): 1g DSM
|
The plan for the next few weeks is to:
- Accumulate the parts listed above
- Get the remaining parts cleaned and – where required – painted, although we’re pretty well done this.
- Install the pedal box and the shifter base
- Test the intercooler for leaks
- Test-fit the dash so we can cut it up to fit around the cage
- Get the rear end all bolted back together (and the mustache bar bolts that we got from Ziggy from RTM work, so we can finally confirm that)
- Get the front subframe bolted back together so we can consider mounting the motor.
- Start to bolt back on the motor accessories to ensure we have what we need (aka find all the things we missed on our first pass)
- Install the wiring harness as far as the dash
- Replace the hanger bearings with new which have been filled with epoxy, or possibly replace the entire prop shaft and keep ours as a spare
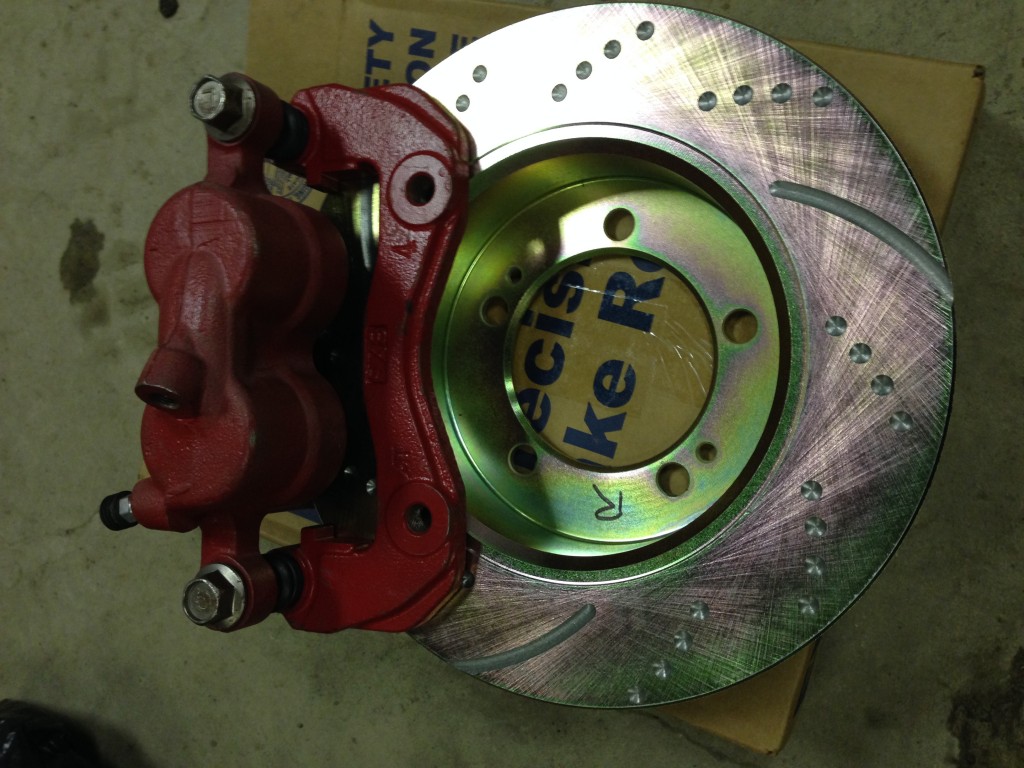
- Lube and bolt on the brakes (two-pot fronts from a 2G – red for extra horsepower! – and stock one-pots for the rear that are not red)
- Build and run the fuel lines and brake lines.
(We’re going to use 6AN for the fuel lines and hard lines with braided for the ends for brakes with a hydraulic handbrake, with lines run inside the cabin. Those of you who are in the know – or are just real car geeks – will realize there’s more fun in that work than a mere sentence can contain, so we’ll have a spotlight on those two pieces with more details and lots pictures. Plus shout-outs to our kind sponsors who provided some of these parts).
- Install the motor and finish engine bay work (i.e. install everything else that goes on the motor or in the engine bay)
- Install the front bumper and mod the lights to be a ‘sleepy eye’ design with some extra air venting
- Finish the electrical to the interior and engine bay (i.e. add navigator lights, wire for additional gauges if not done already, etc)
- Finish the fuel and brakes in the engine bay
- Build interior parts (door skins, foot rest, etc) and install roof vent
- Install the battery re-location box and wiring
- Put guards on underside and make scrapers for rear wheels
- Mentally prepare ourselves for the day we can prime and actually start the motor
Then ‘all’ we have to do is to load it up, take it Ryan at Rally/Race to get an exhaust made, add some tow hooks and skid plates, re-install the seats and belts, and then we can get a windshield installed, get a safety and clean air, and insure it! And of course there are a lot of other steps here that are not yet included, like the ones where we learn that tab B can only go into Slot A when component C has been installed.
When we have a complete list we can include it, should anyone wish to be amazed at all the parts a car has. And this is 23 year old car with no ABS and even fewer parts going on it than came off. Imagine how many parts are in the average 2014 Whizz-bang with 7 airbags, stability control, rear camera and electric everything.
More news as we progress. Now, pictures!
Box o parts that we started with. 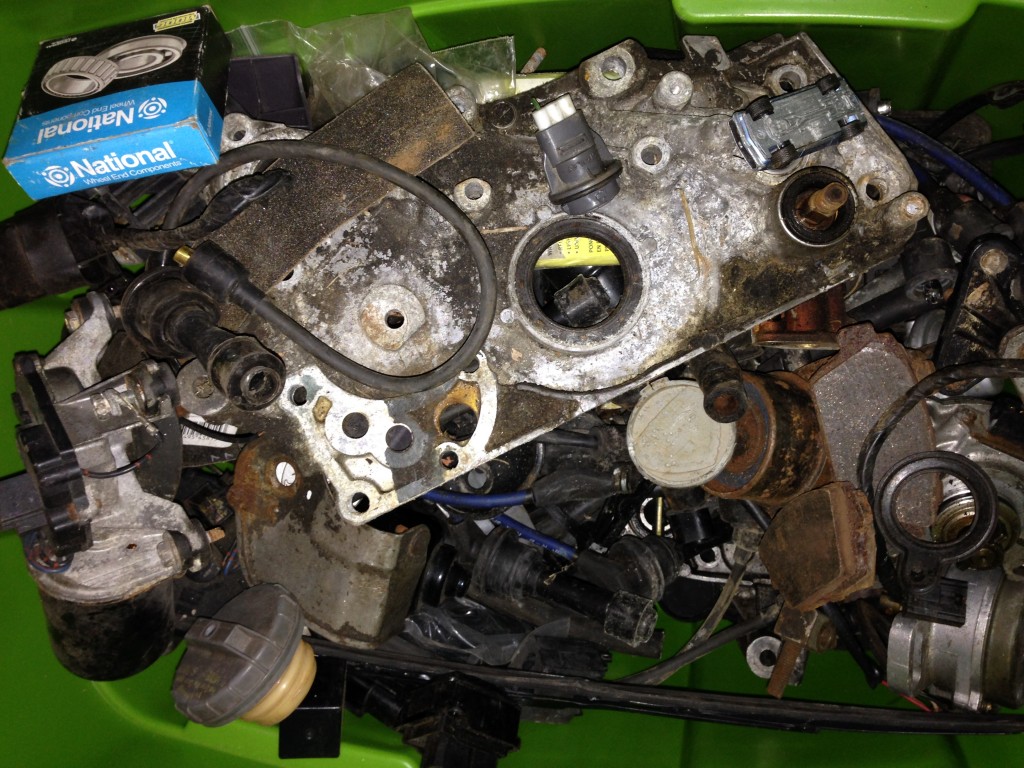
My favourite find in the car: another, smaller car. 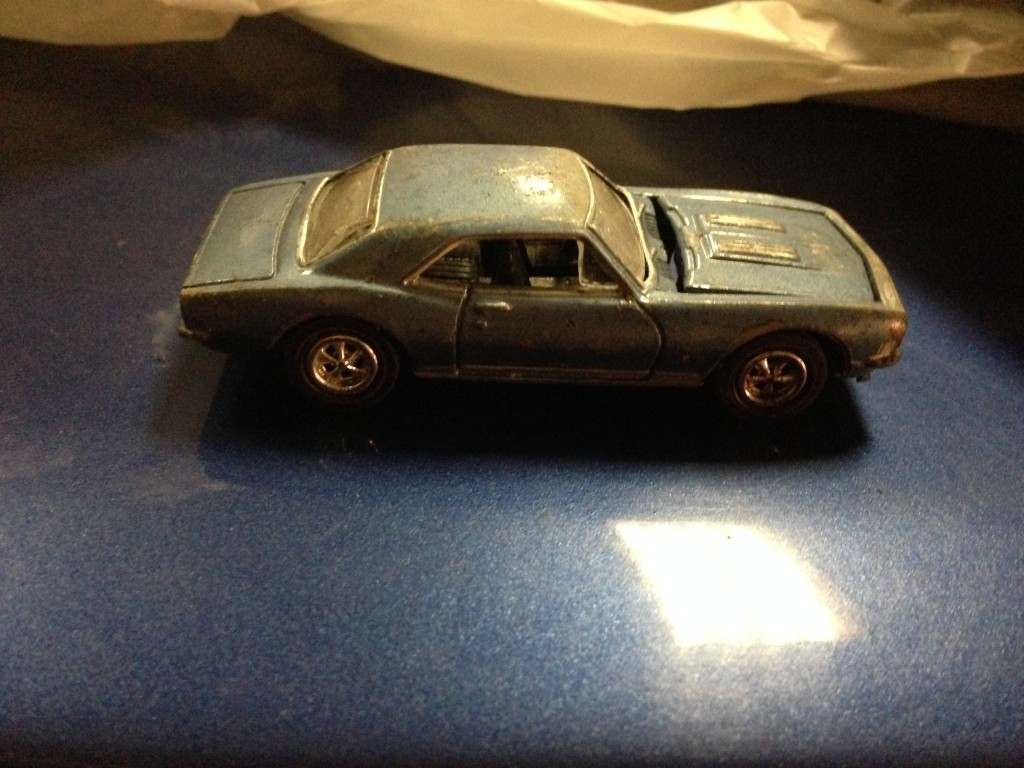
Cleaned up fans on new rad.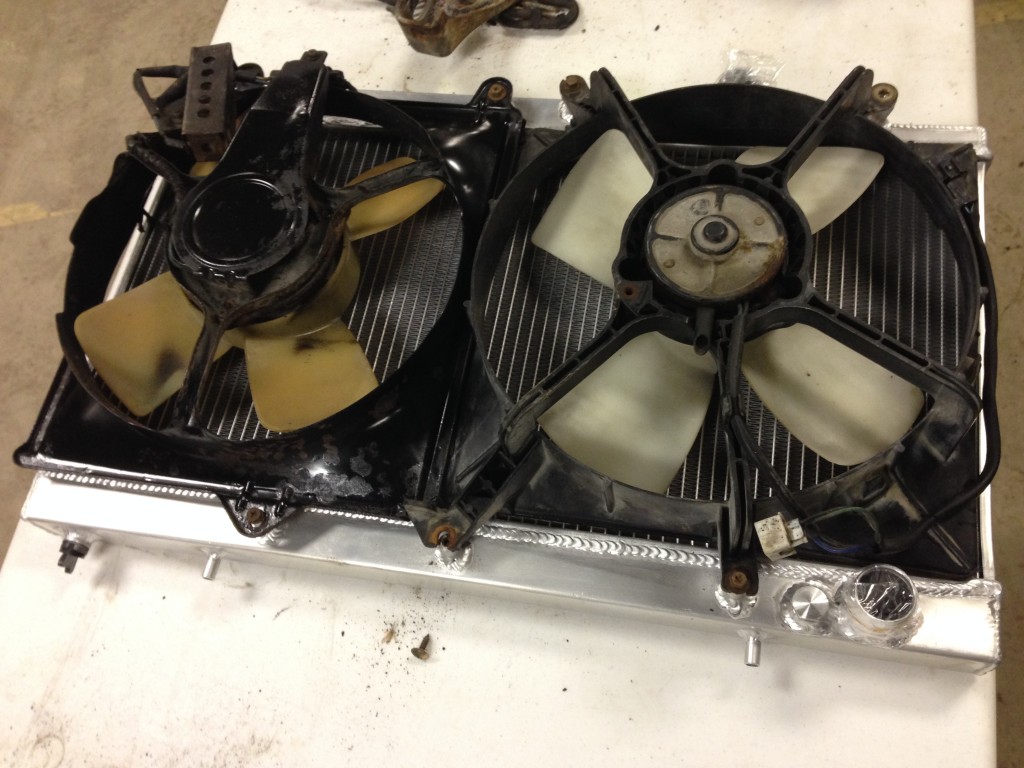
Test fitting behind the dash components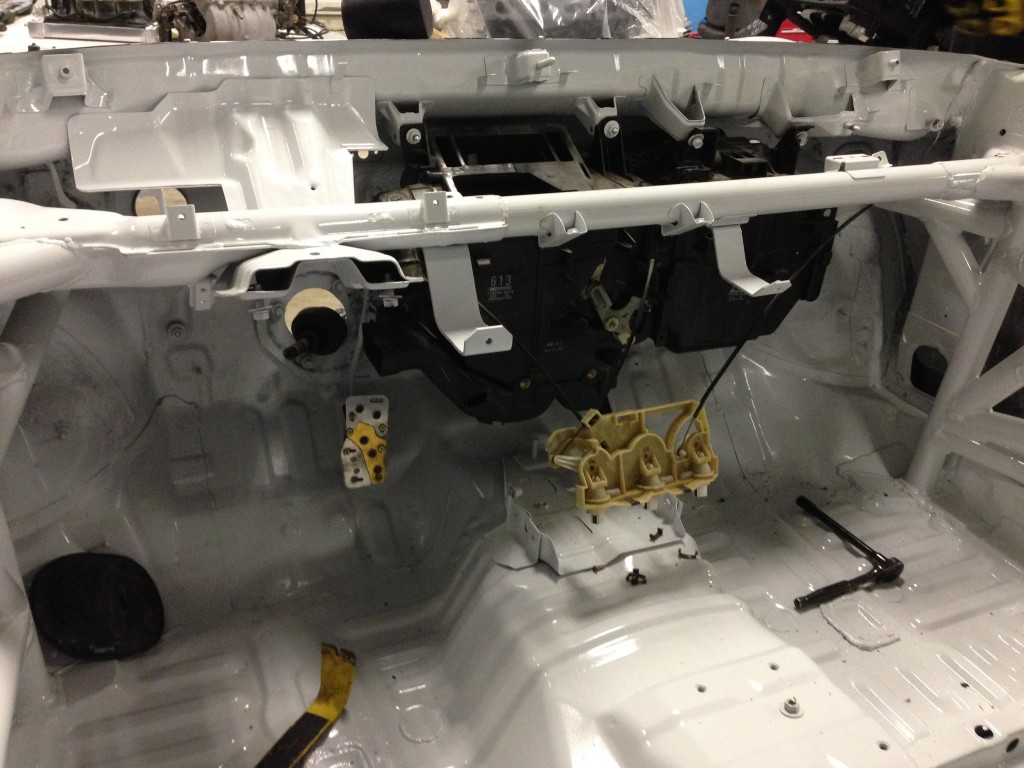
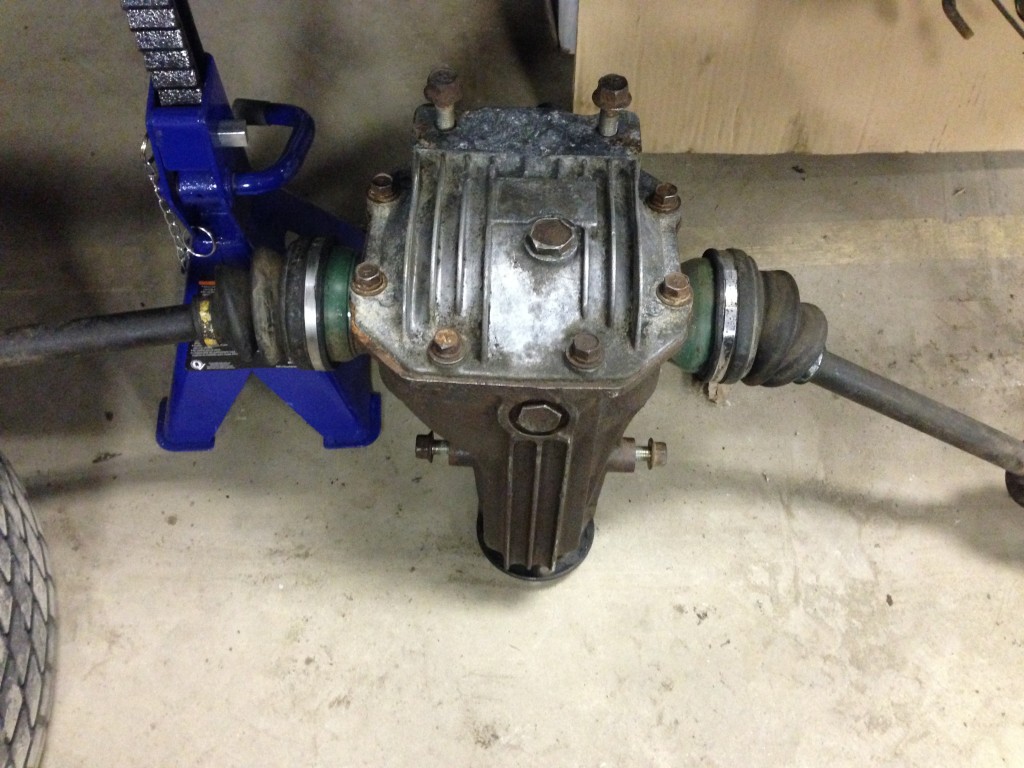
Engine bay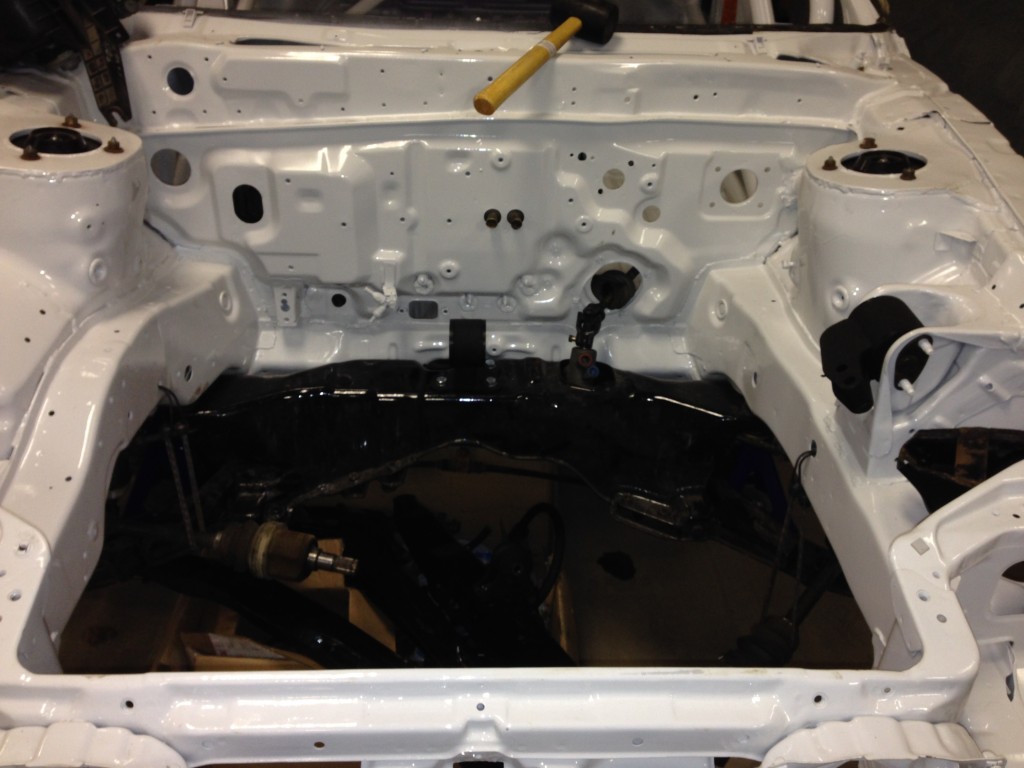 Before and after: rear diff.
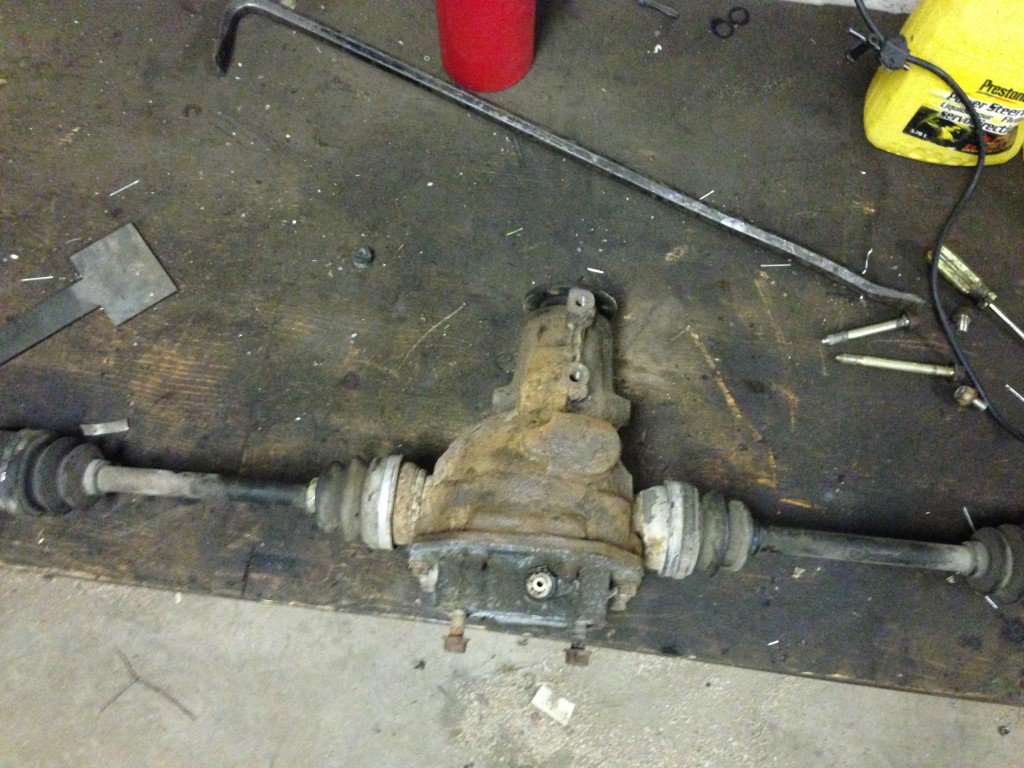
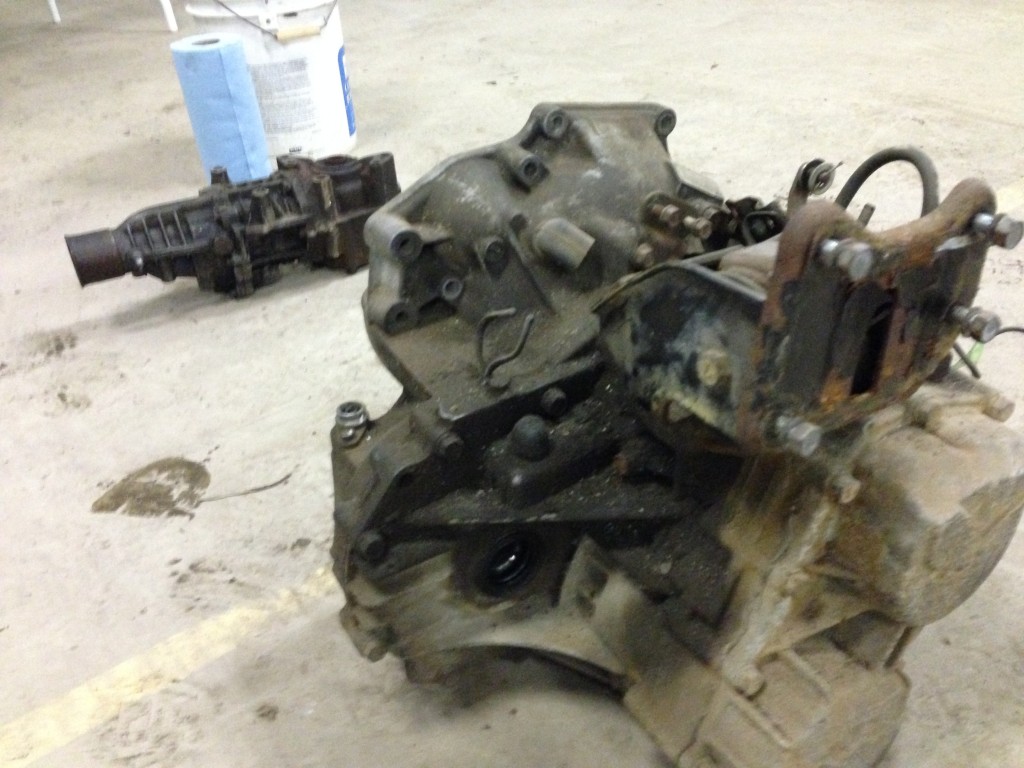
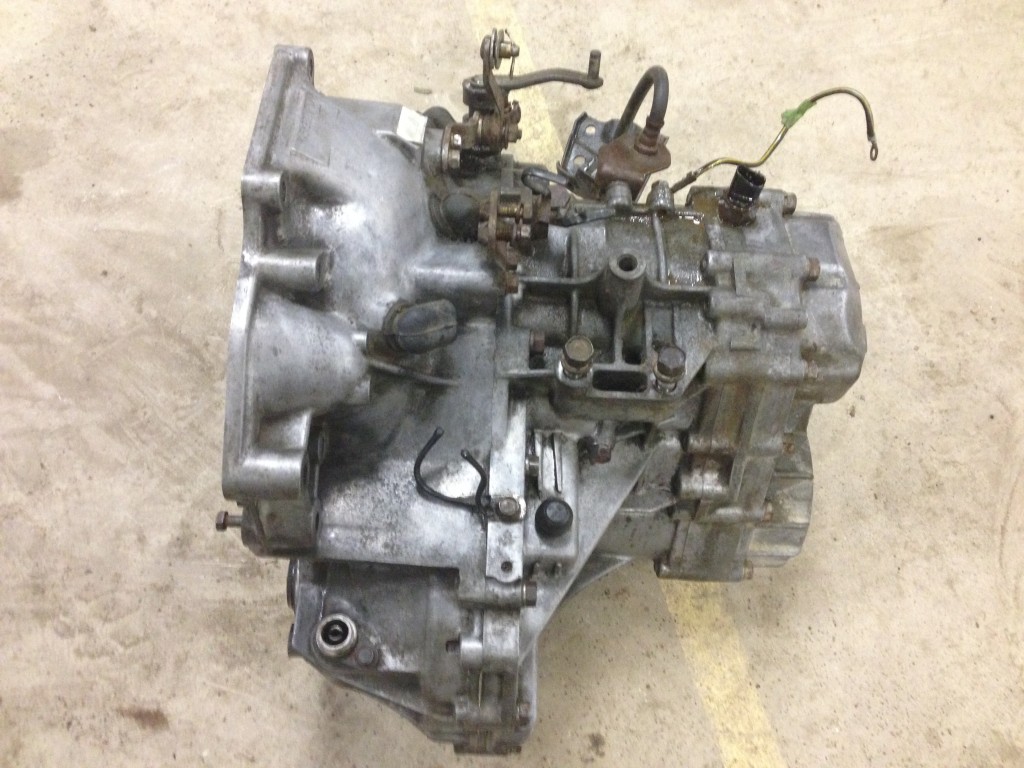
 Before and after transmission:
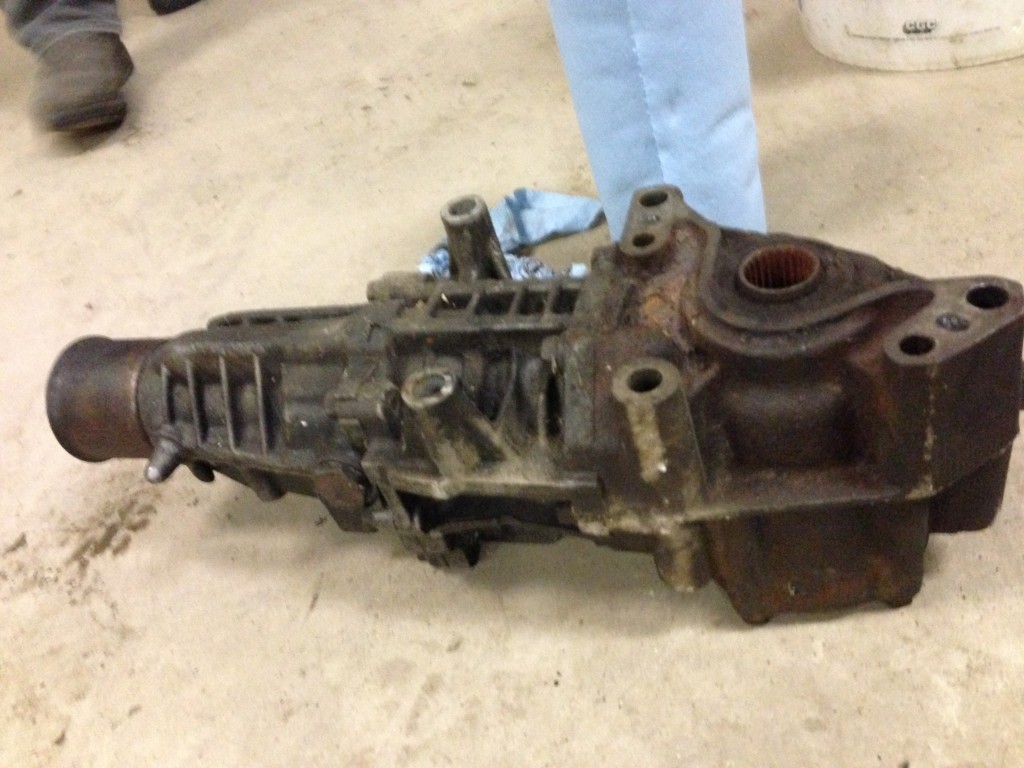
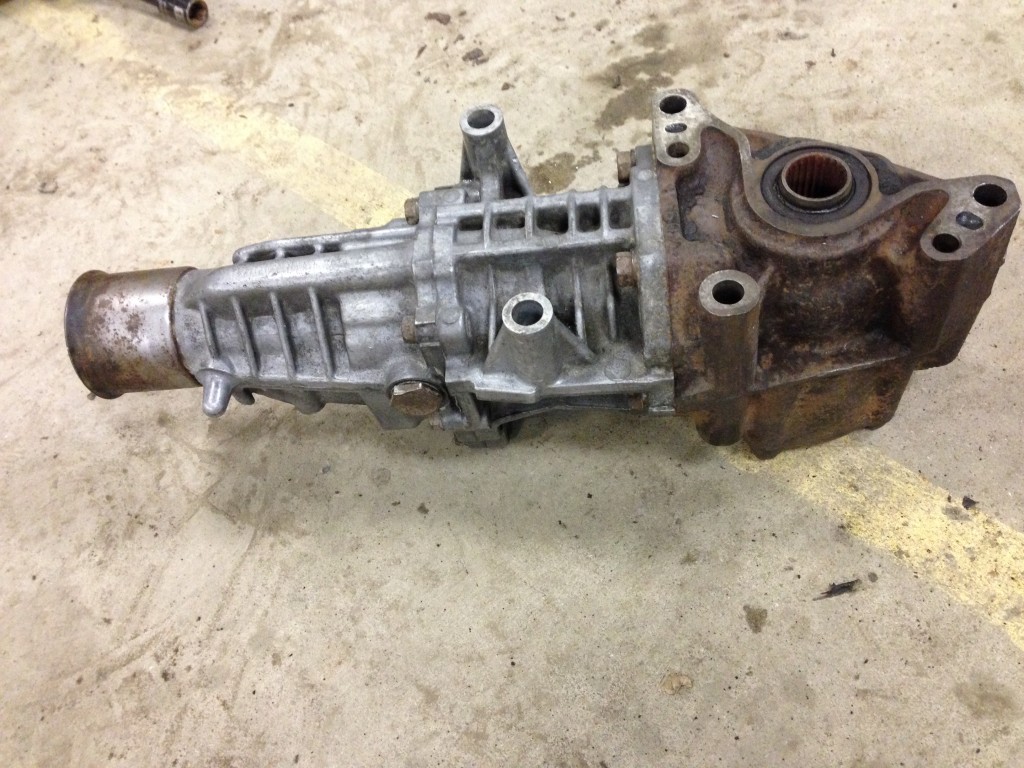
 Before and after t-case:
And finally, a preview of the brake setup