It’s been a while but we can report what looks and smells like actual progress! We’re all very excited over here.
First off we’ll start at the end: here’s where we’re at.
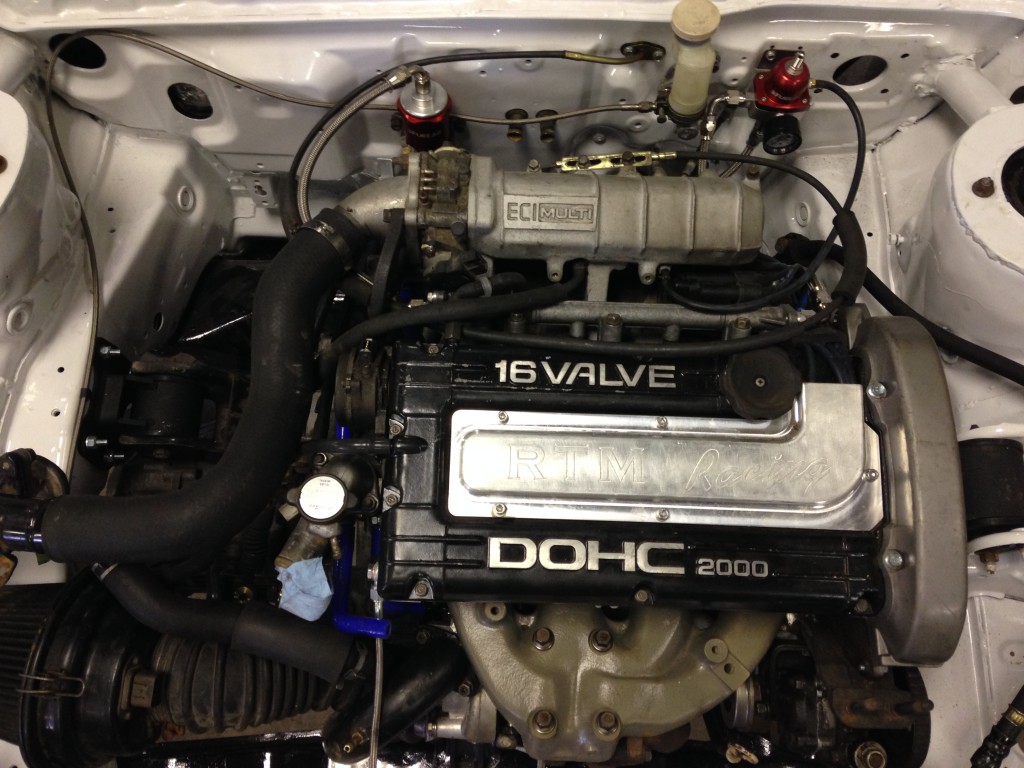
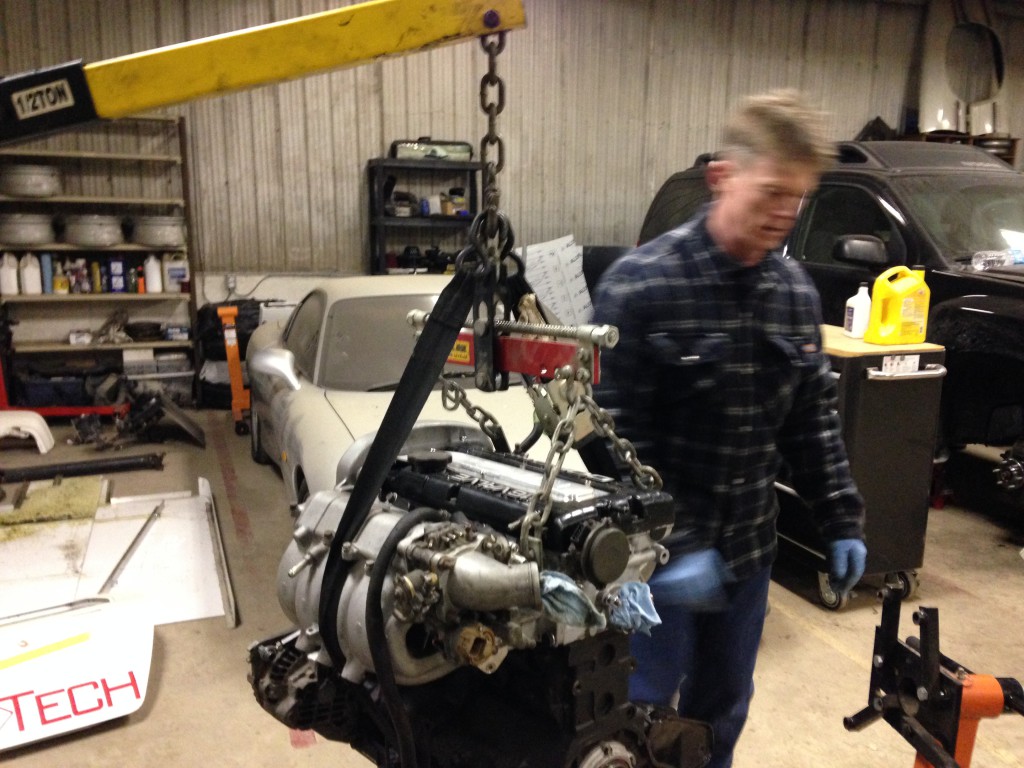
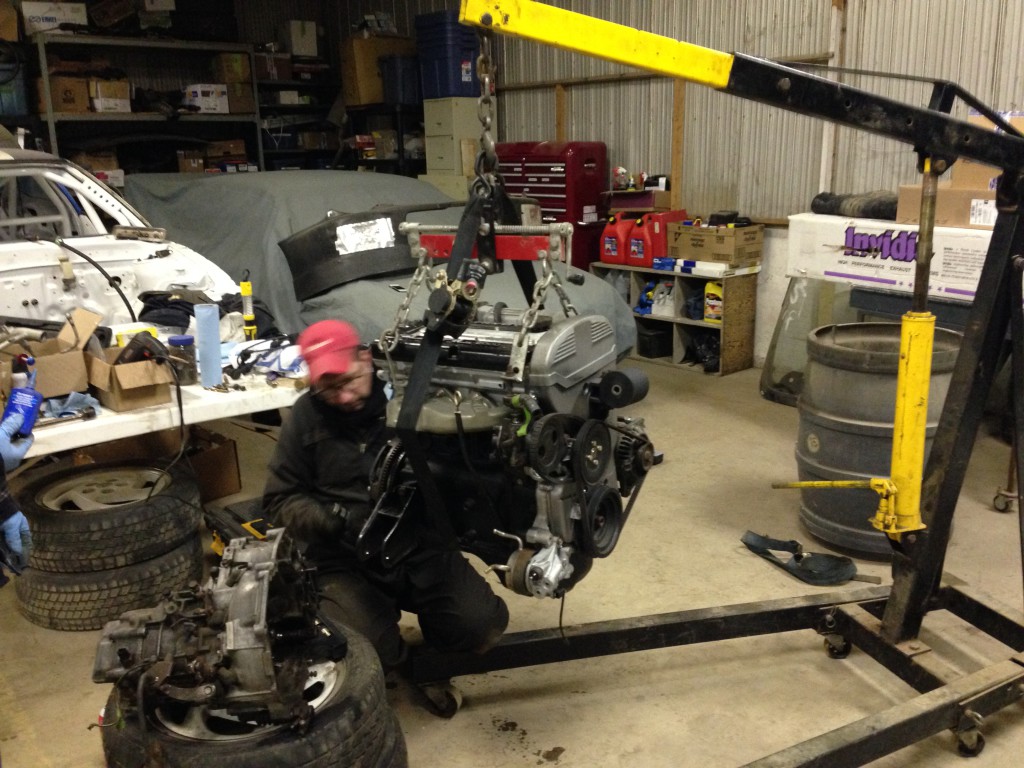
Although I’m sure we’re all familiar with the 4G63 motor, specifically what you are looking at is said motor actually bolted (and torqued, and loc-tited) in place. That also means that the transmission is attached, which in turn means the clutch and flywheel are installed.So yeah, go us!
Motor specific, this means: the shifter cables are attached, the silicone coolant hoses (in extra horsepower blue) are attached, the intake hoses are in place, the intake is in place, the fuel lines including filter and pressure regulator are attached, the turbo and intake manifold (powder coated!) is in place, the restrictor is in (although you can’t see it and we haven’t finished that bit quite yet but we’re close). We also have the vacuum brake assist delete plate made and ready to go once we counter-sink some bolts.
Inside the cabin the fuel lines are laid out and ready to be attached to the floor, the shifter cables have their grommet/mount through the firewall in place, the mount on the floor in place, the pedal box in, the heater boxes/vent system in, and the shifter itself in place, all pending electrical work so we can re-attach the dash.
It’s taken a while to get here, admittedly, and there’s lots to go, but we can start to see the end of some pieces, and as a benefit there is now room around the car since we’ve attached those bits TO the car. Making it much more like a car than a shell, and that is where the exciting bit comes from.
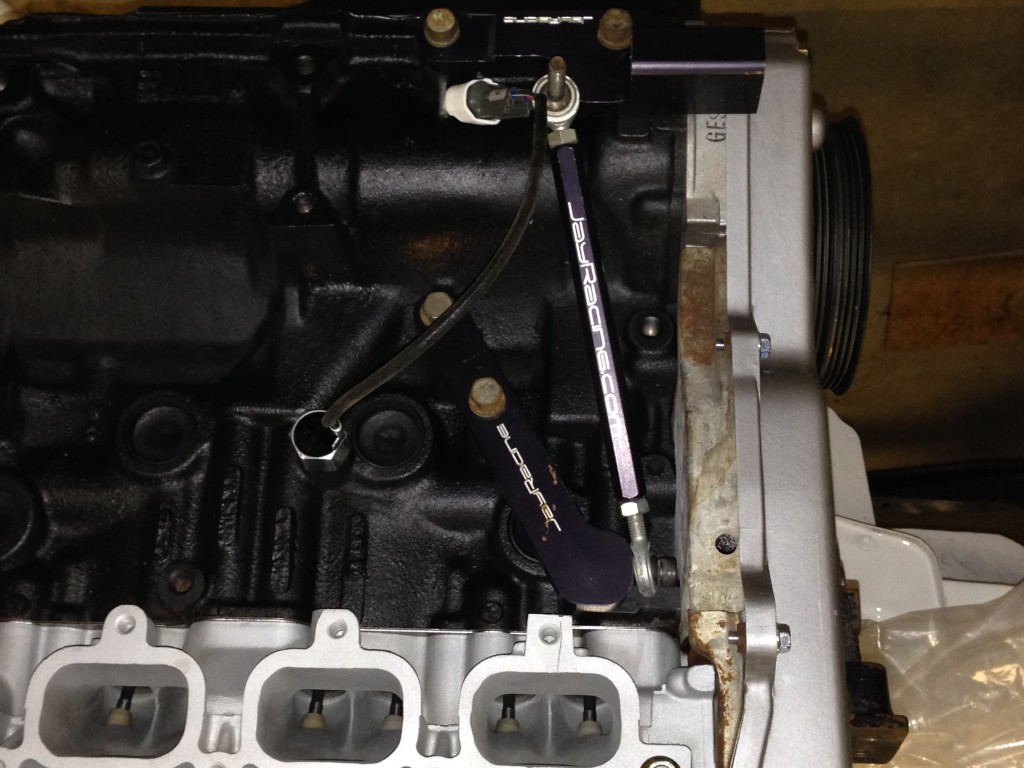
Lots of little cool improvements were tackled while we were doing this, too. For example, the transmission end of the shifter cables are a metal loop with a rubber bushing inside it. The rubber bits were pretty chewed up so we replaced them with brass ones. And we re-located our alternator. And our fuel pressure regulator has a gauge built into it. Yes, that now constitutes “cool” in our world. We’ll just show ourselves to the car geek section…
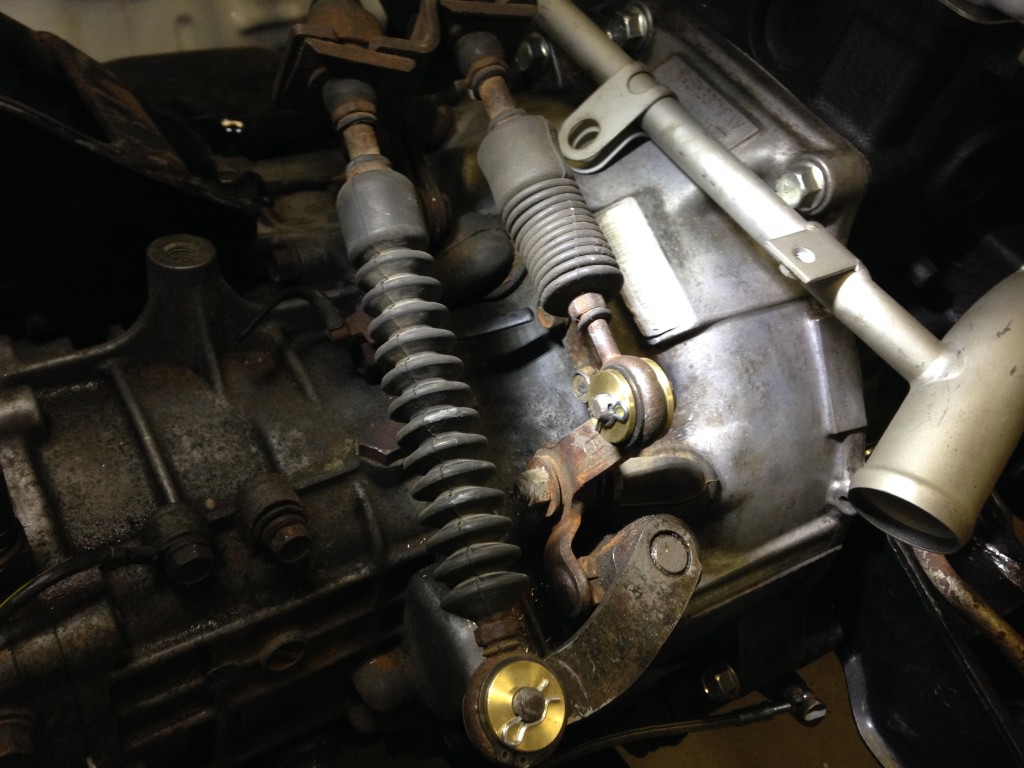
The alternator move did require a small adjustment though.
We also managed to lose a number of parts that would be handy to have, so if anyone DOES have any of these we are interested in talking to you. Those parts include:
– Brake fluid reservoir
– Hard coolant line that goes on the lower front of the motor
– Whatever else we can’t find as we go through what remains of the boxes
It was surprising since we did such a thorough job of labeling and storage.

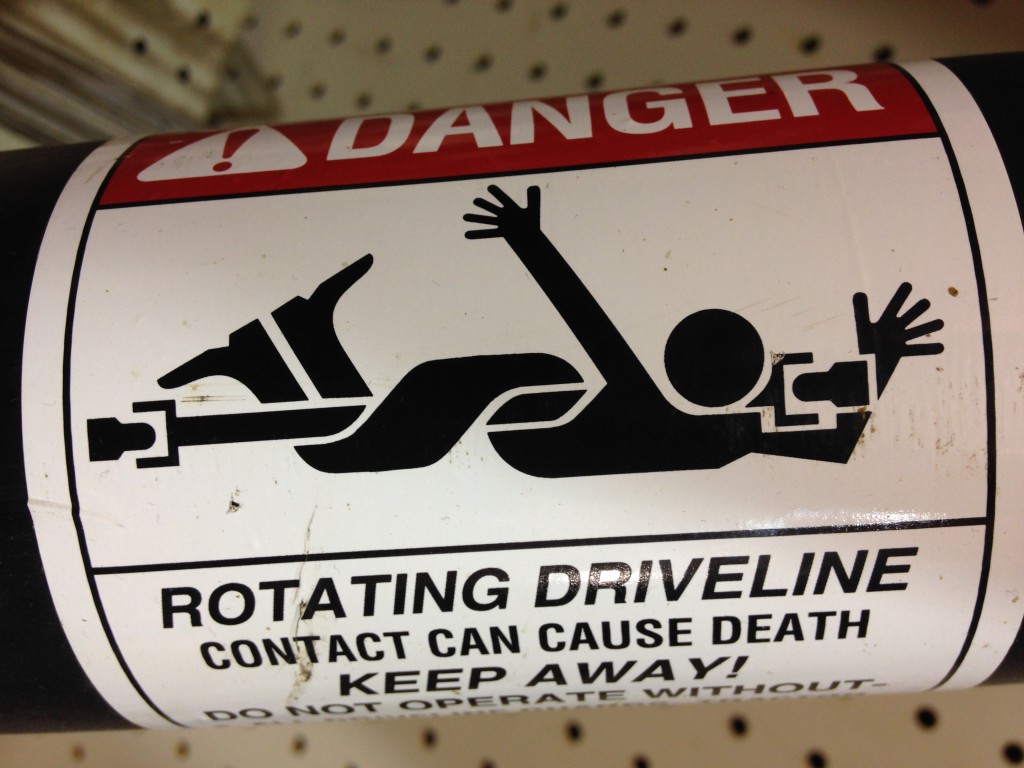
We are also becoming expert at finding parts at TSC, which is where all race teams shop, right? That’s where we saw this super cool warning label.
We also ended up making some pieces that we couldn’t find, which is probably a tipping point of some sort. Not like camshaft lobes; easy stuff, like the clamp that holds the shifter cables inside their rubber holder and bolts to the floor in the cabin, but still, that’s something, right? Plus we made the brake delete stuff – again, not a big deal in the scheme of things but it’s something for us.
Anyhow, next up we need to buy some more stuff that we can’t make. Yeah, that’s a surprise. Things like a prop shaft, a fuel pump sender unit, brake lines (hard and braided), proportioning valve, some gauges, and a whole bunch more things that we’ll write down shortly. Once we get the axles back in we will also flush the transmission, t-case and rear diff a few times (since all of those are untested as yet), then consider putting the rotors and calipers on plus any parts left that we can find. We still have lots of electrical to do, and when we get the parts we’ll start the brake lines, finish the fuel lines, etc.
However, at some point in a month or so we are anticipating needing to make the trailer usable (currently has 2 flat tires – good thing it isn’t ours, huh?) and taking the car to Ryan at Rally Race to get an exhaust, skid plates, and seats and belts in. Can you imagine that? We can, but it’s like a hazy dream in the distance you can almost but not quite get your hands on. We’re also going to need to start things like putting the doors and front bumper on; the doors will need cards made and probably won’t fit after all the sill rebuilding we had to do, and the bumper we wanted to customize to keep the headlights permanently up in ‘sleepy’ mode (since we threw away most of the headlight motor assembly – it weighed like 30 lbs per side and was guaranteed to not work right when you needed it) which all helps temper the dream a bit. And we haven’t ever started the rebuilt motor. And we’ll have to tune it and align it after we safety and e-test it and put a windshield in it, but at this point those are minor events.
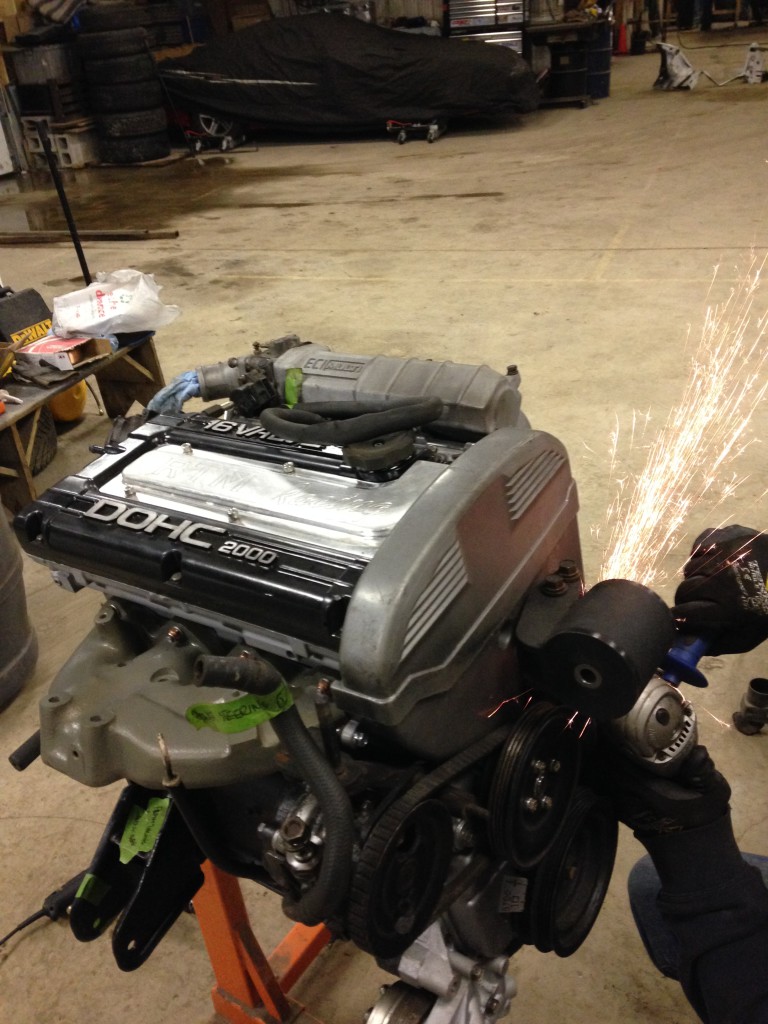
Looking forward to having the next update up sooner. In the meantime, actions shots of us with a motor.

Oh, and one that points out just what a terrible stock location the intercooler is in, at least for rally racing. Yeah, nobody ever crashes on the navigator side, right? If we hit a bee we may put a hole in it, never mind gravel spray…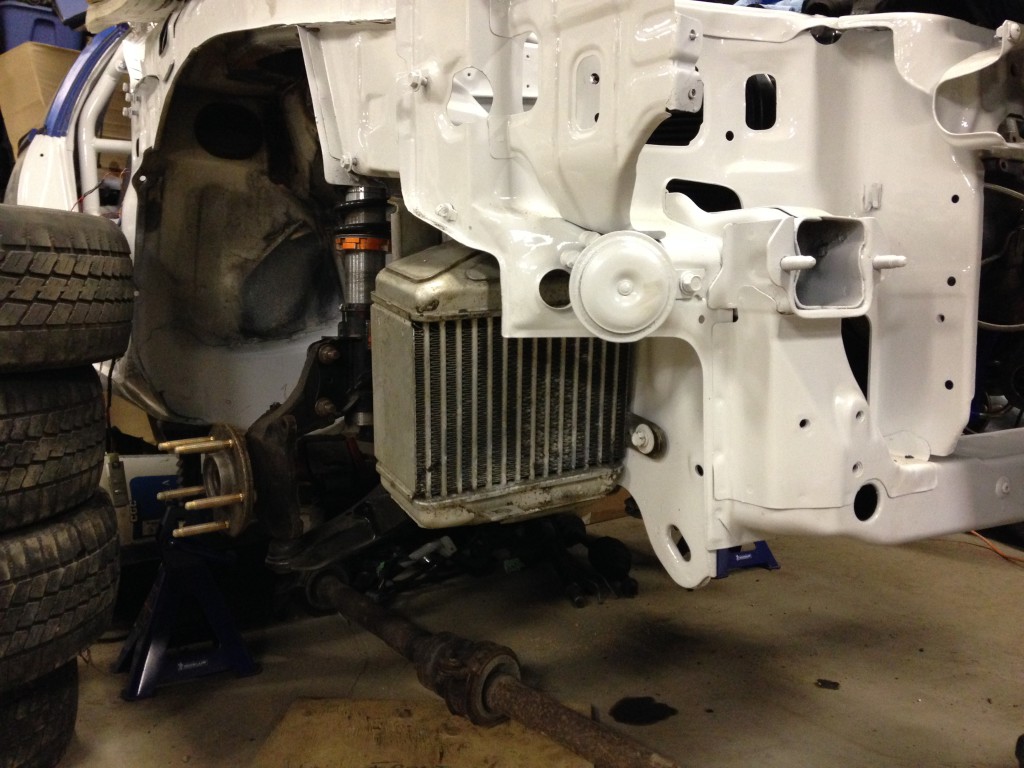
Stay tuned for more updates, hopefully soon!