We were holding off and hoping we’d have a big announcement, like world peace or the motor starting, but instead we decided to focus on the little things.
Little things are what keep us from doing big things. So say you want to, we don’t know, install a transfer case on a 91 Talon. Assuming the car is essentially apart you get it hoisted up onto your chest, you slide under the car, you align the pins and the splines on the shaft and then you bolt it up. Easy. Just a little thing. Like, 10 minutes. We bought some replacement bolts, right? So why can’t we find them? Let’s look for them.
Oh yeah – we didn’t buy them, we just talked about buying them. So we buy them, Ziggy mails them the next day, and we have it for that weekend. Put it on and…great, let’s do this. Hey, why is this one of the 5 not threading? Try, try, curse, and finally check the old one for clues. It’s like CSI Talon. Oh, I see, that old one is a nut and bolt, not a nut. Why would that be? Could that be because someone stripped the thread out of the transmission at some point, could no longer thread the old nut into it, and then drilled it out and put a slightly longer bolt through it with a nut on the end? Yeah, that’s probably it.
So put in nut and bolt and continue. 4 new ones is pretty good. One will have a 5/8ths head and the rest are 17s, that’s all. How often do you change the transfer case? Drew won’t be happy though. So go to torque them in and…one slips. That’s odd. Can’t get it to go much past finger tight. Sigh. Try a bunch. Then take bolts out and pry transfer case off with crowbar. Onto chest. Move that out of the way and try threading the bolt in directly. No problem. Run all the way through to make sure threads are clear. No problem. Scratch head. Drink some beer. Lie down, put transfer case on chest, slide under car, align pins and splines on shaft and start to bolt it up. Leave everything loose and try that odd one first – maybe it isn’t lining up quite right. Fiddle with it a whole bunch. Nope. Try every variation of loose and tight bolts and pressure in various places and still won’t tighten. Ok. Slide out from under car. Drink some beer. Slide back under car. Pry transfer case off with crowbar. Onto chest, but less so. Learning. Leave it until the next weekend. Drink beer.
Next weekend: purchase replacement longer bolt and nut at TSC on the way to the shop. The Supercar Champions, right? Or Tractor Supply Center. Either way. 3 new ones (well, it’s new also, just…different) is pretty good. Drew really isn’t going to be happy if he ever finds out. Ah well. Slide under car. Try threading in old bolt one more time just in case it rusted some new threads together. It didn’t. So take 1⁄2 dill bit and take out what was left of the threads. New bolt fits through. Cool. So now need to check the length of bolt required so that a nut will fit on but it won’t hit the oil pan behind it. Sigh. Hoist transfer case onto chest, slide under car, align pins and splines on shaft and bolt it up. Measure bolt. Slide out and use metal cutting wheel for the first time. Then slide under car, bolt up all bolts (since the transfer case is still attached), find torque wrench and 5⁄8 hand wrenches because the size and location of the bolt head is such that one can no longer quite get a socket on it, unless you have a thin-walled socket, which we don’t. Yeah, Drew is going to LOVE this. Torque to to what feels well beyond 40-44 ft lbs.
That was bolting one original part onto one other part. There are no pictures because it was such an insignificant bit of work that it didn’t seem worth it at the time.
We do, however, have other pictures.
We had to remove the (relocated) alternator, have an alternator shop find us a star bolt so we could reduce the length of centre bolt required so we could make more room between the alternator and the sub-frame. Barely being able to get a piece of paper in there didn’t seem like such a good thing.
(This is before)
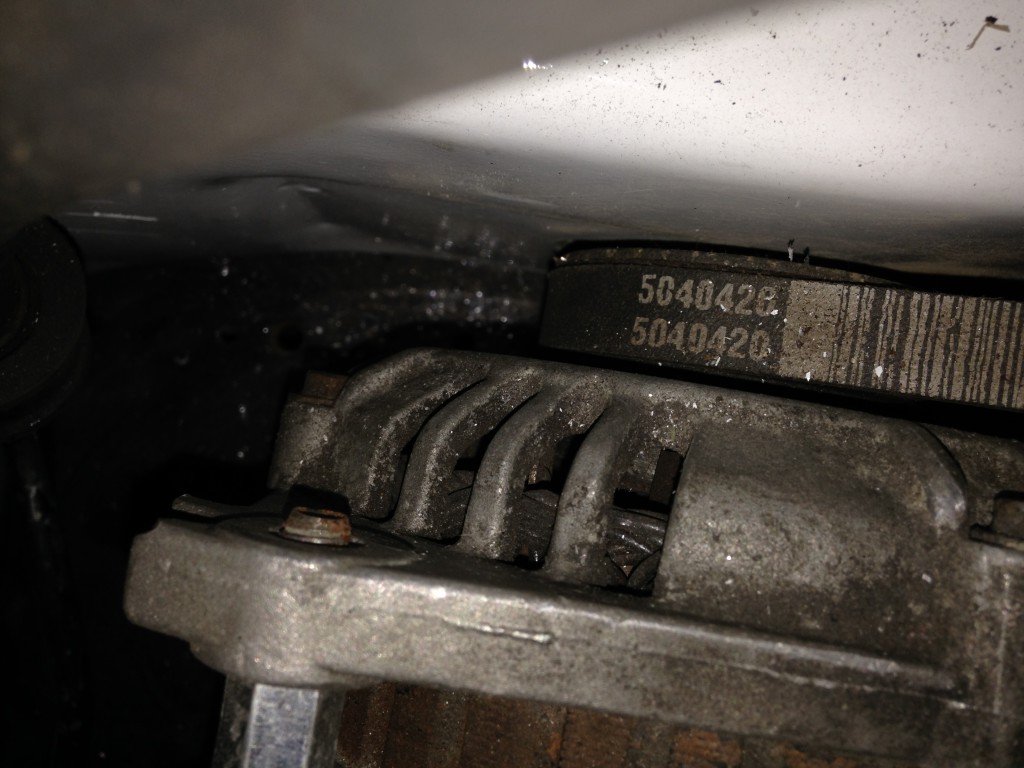
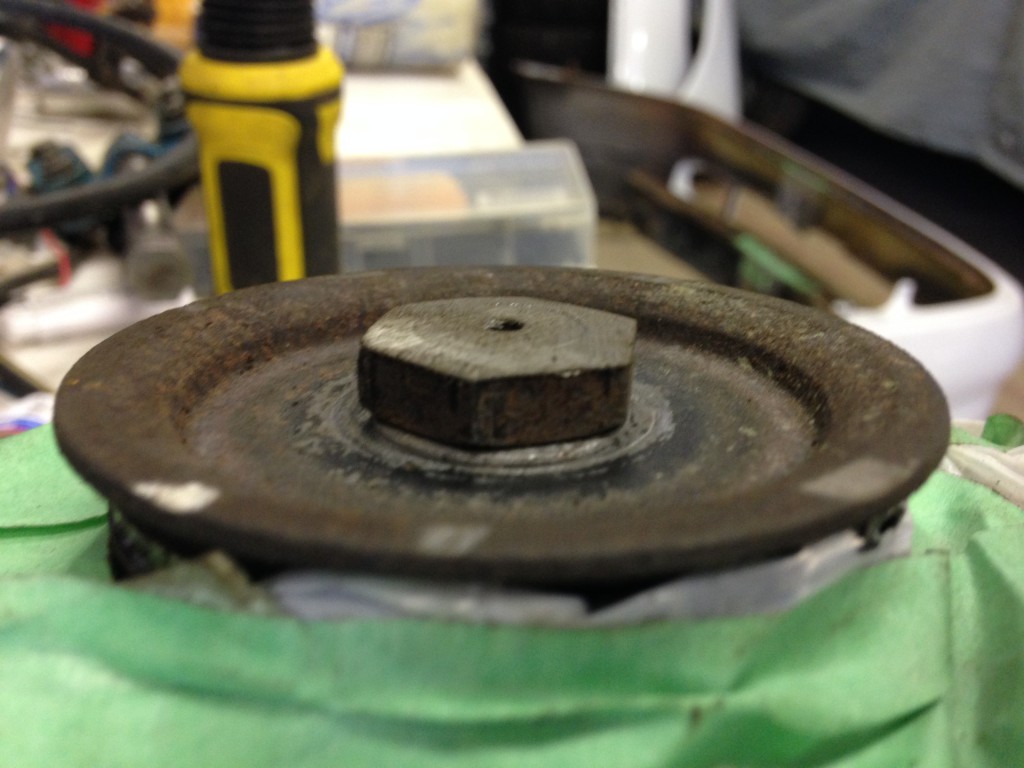
So we ended up with this. This worked.
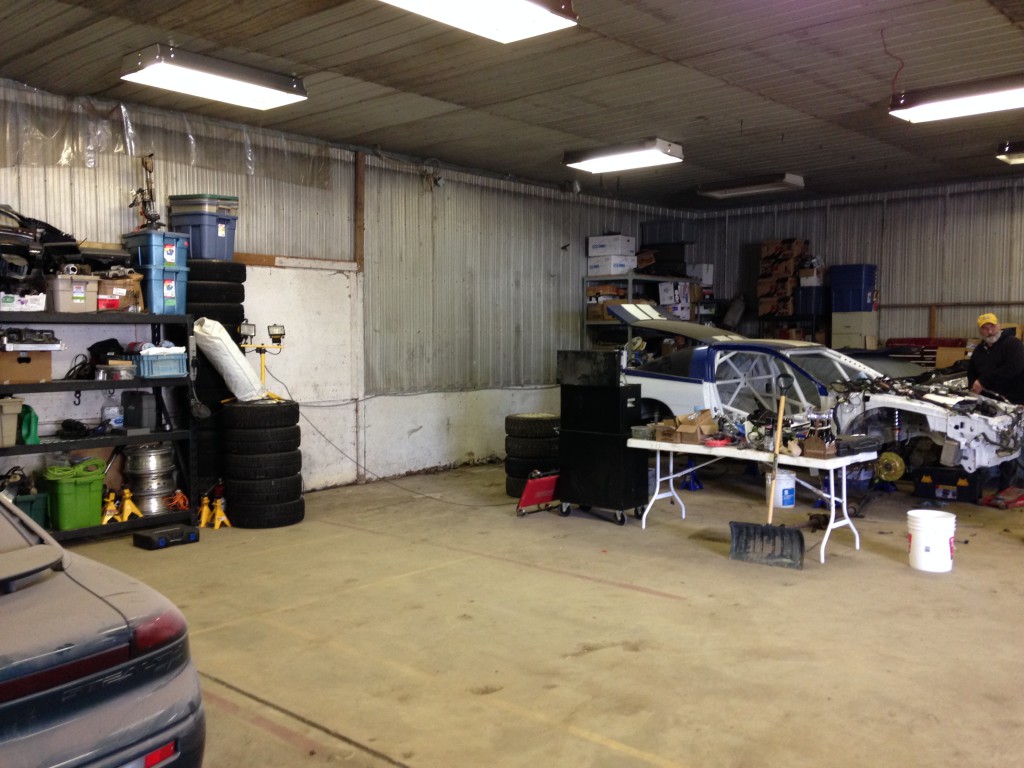
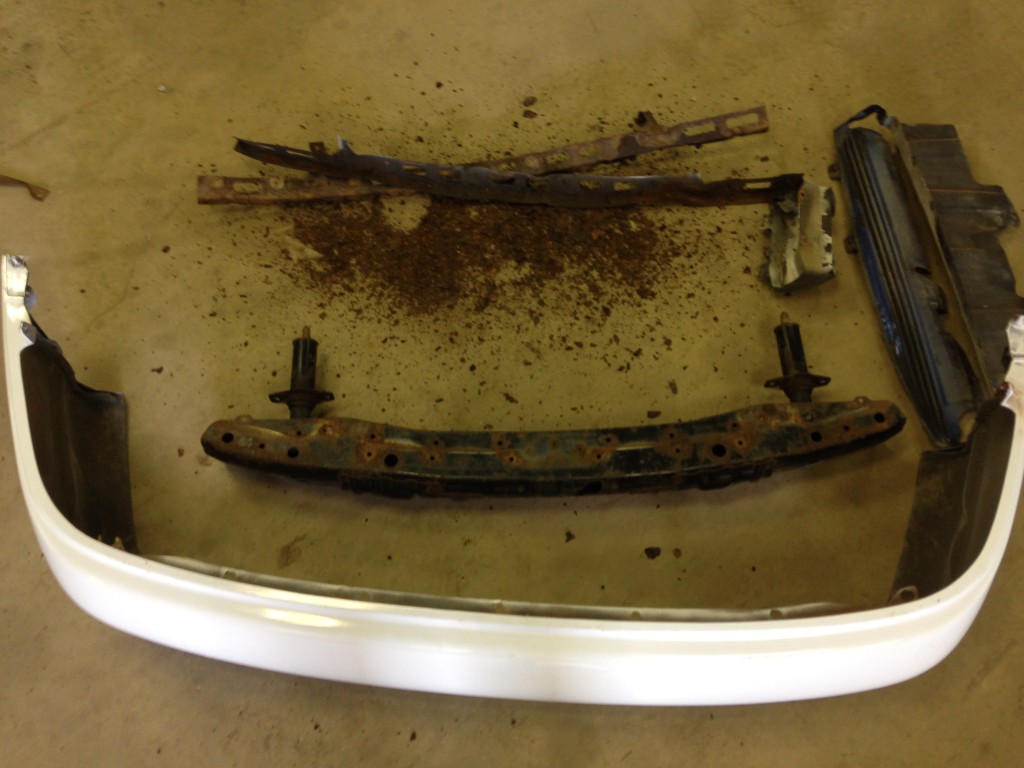
We brought the doors, fenders, and front bumpers up to the shop. That’s because we’ve expanded into some empty space temporarily. That’s palatial Sputnik manor right there!
So when removing the bumper from the old bumper cover – in preparation for actually installing the bumper someday – we got to meet Mr Breaky Screw.

Mr Screw brought some friends.
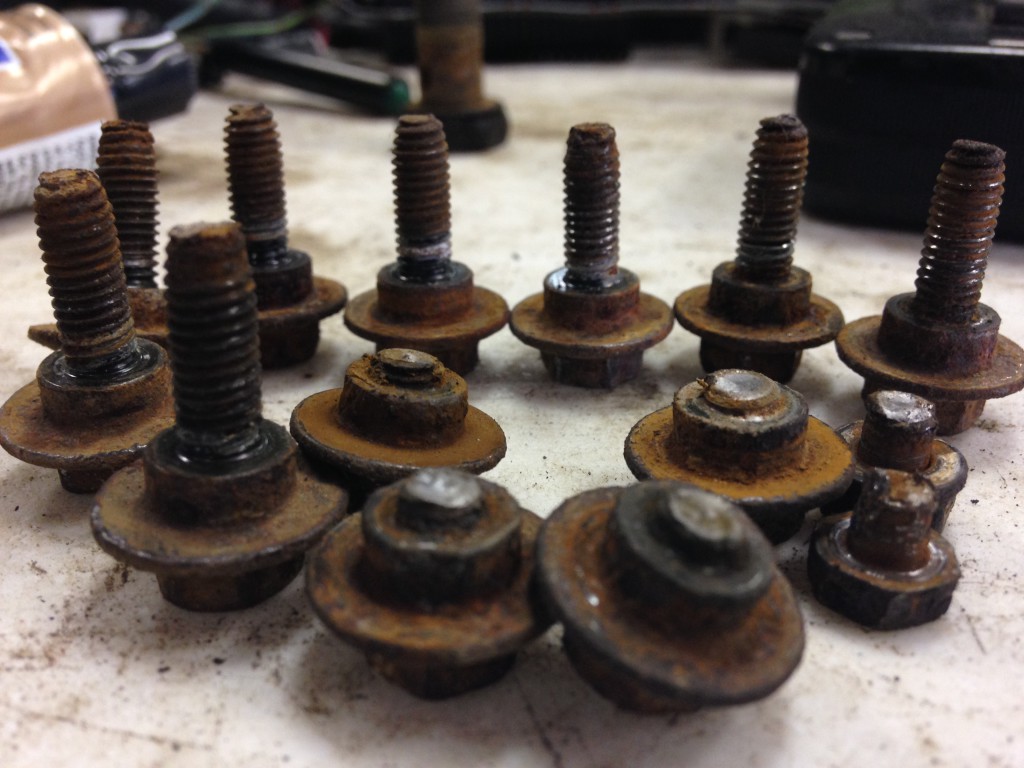
You may also know this nut.

So that all went great. When we ended up shaking the rust out of the bumper the final score was:
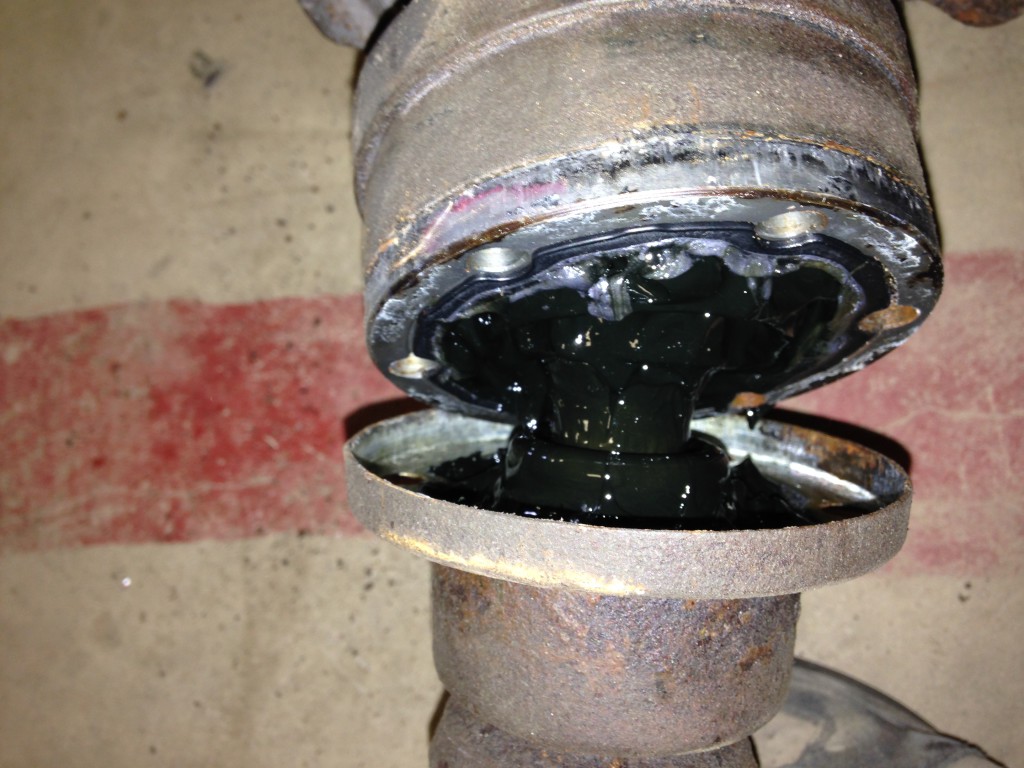
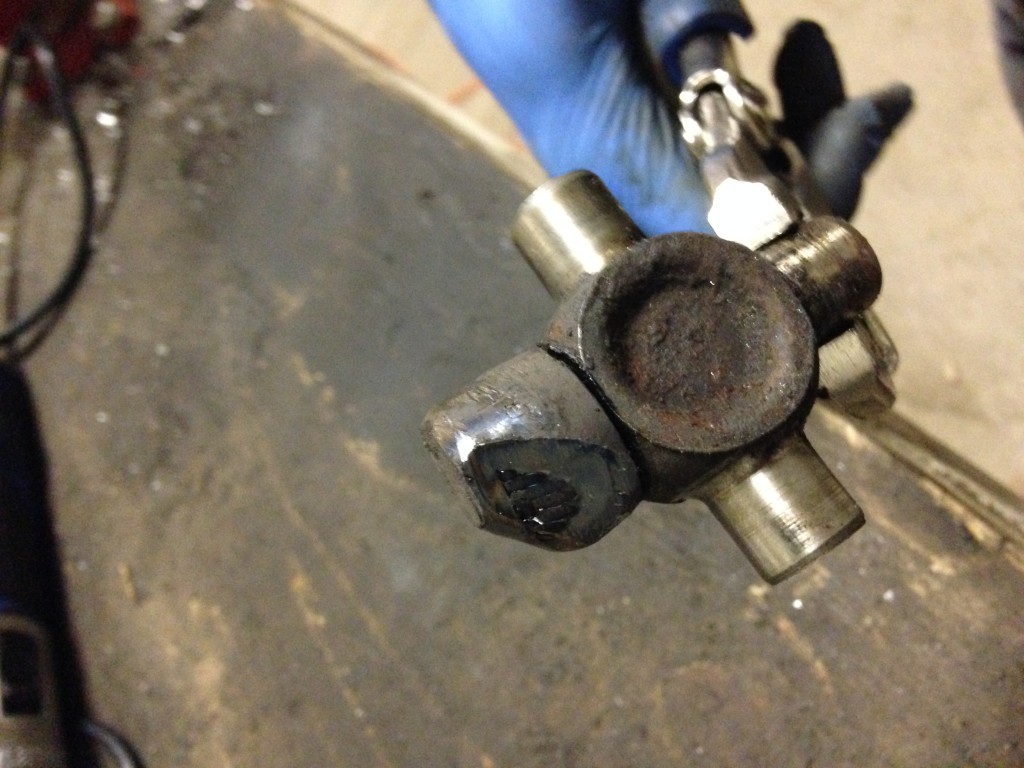
But there’s more! Of course there’s more There’s taking the old 3-piece prop shaft apart so we can put the new one in…if and when that ever arrives. Clearly we did NOT order that from Ziggy, but we should have.
First there’s the Lowenbrau joint. Thank you, Europe.
Bits of that look like this.
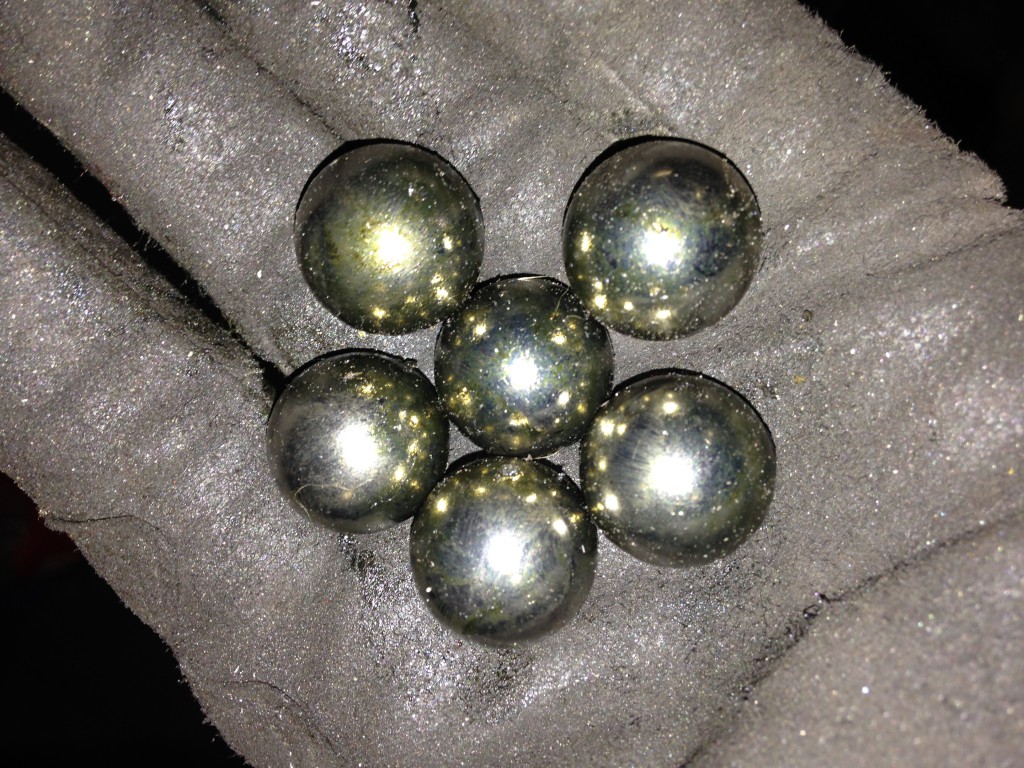
Like little universes in your hand. We feel like we should be in an Avengers comic.
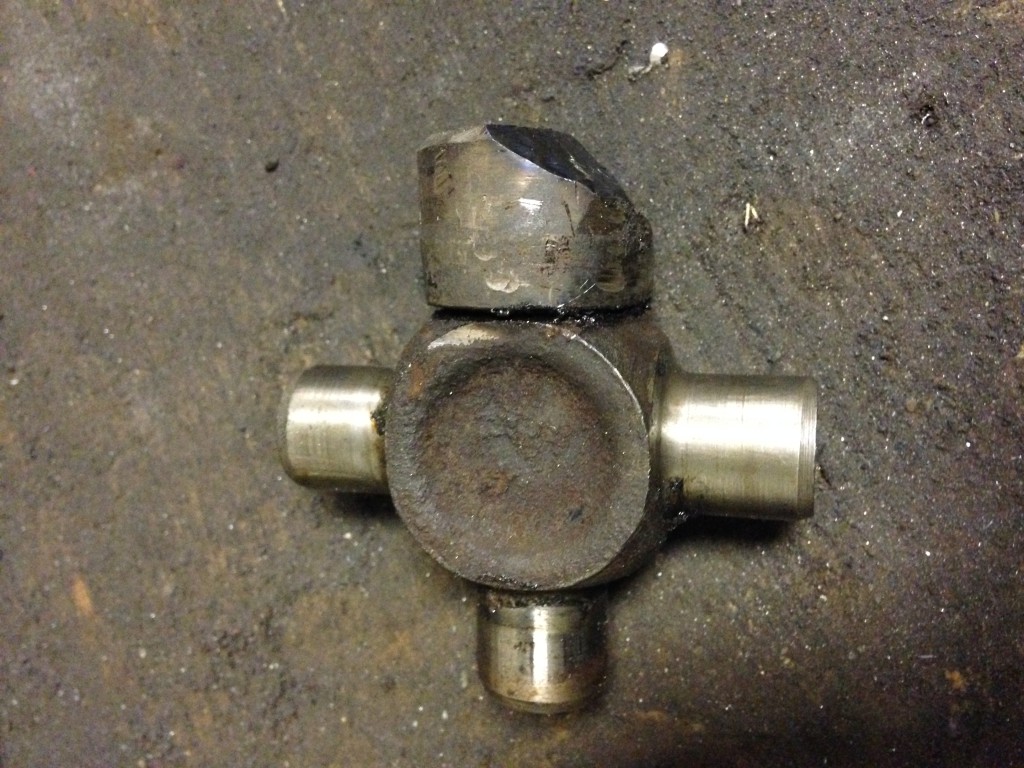
However, some parts of the universe required some shortening. It took far too long to get this dealt with.
So yeah, there’s that. Did we mention circlips? 23 year old circlips? Those are pretty fun too.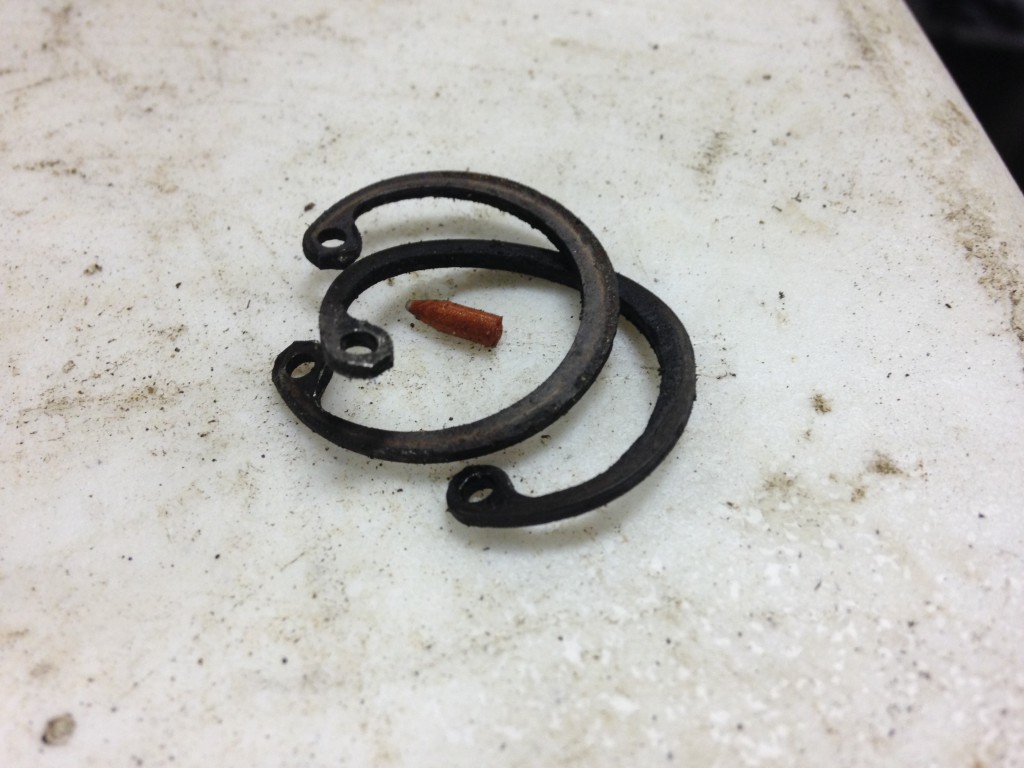
We also had some sizing issues. That was our fault; correct ones coming soon!
And some electrical issues. Apparently this isn’t “good”.
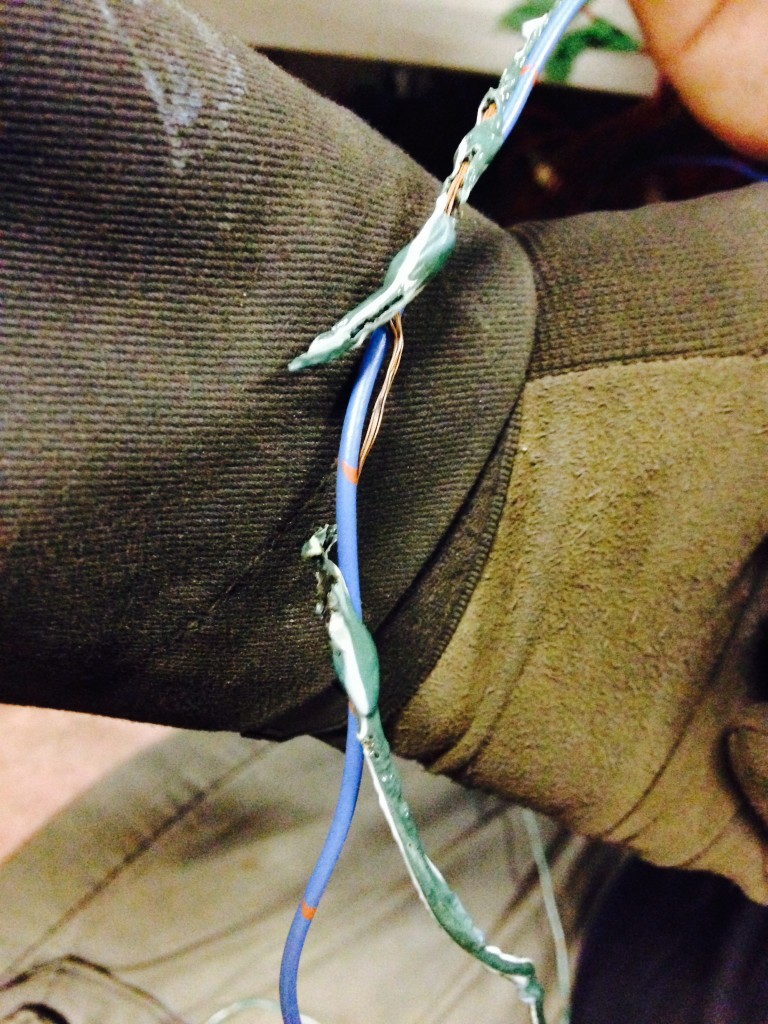
Says The Man! We wanna be free, to drive our machines. To catch on fire, and have fun! Like these guys!

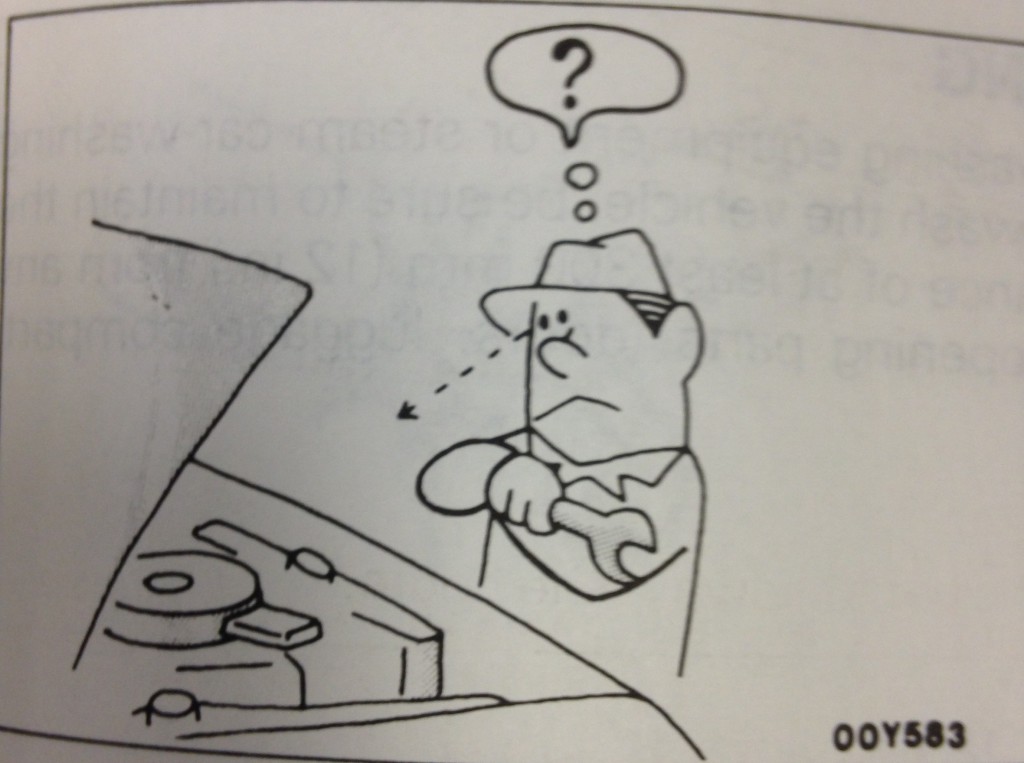
Sadly, we’re mostly more like this guy.
More new soon! And bigger stuff, hopefully.